
Rock Candy Christmas Tree Cake Topper
/No one knows exactly why rock candy has gotten so popular, but I have some theories. 1, it's gorgeous and it's like glitter candy on a stick. 2, it tastes delicious. 3, it's a classy addition to any cocktail. But really I think its popularity is due to 4, its uncanny resemblance to a Christmas tree. Yes, you read that right. No, I'm not crazy. It's like Christmas in disguise, a tree hiding in the ordinary candy we all love. Subliminal messaging at its finest. And somehow no one noticed. We went around all these years blind to the fact that Christmas was right under our noses, disguised as something as ordinary and unassuming as rocks.
Full disclosure: this post was supposed to go live around Christmas time, but I wanted to give it the cake it deserved. Since I'm not really ready to give up on Christmas quite yet, and it's pretty darn cold here, I'm posting it now. Let's call this a winter tutorial and suddenly it's right on time ;)

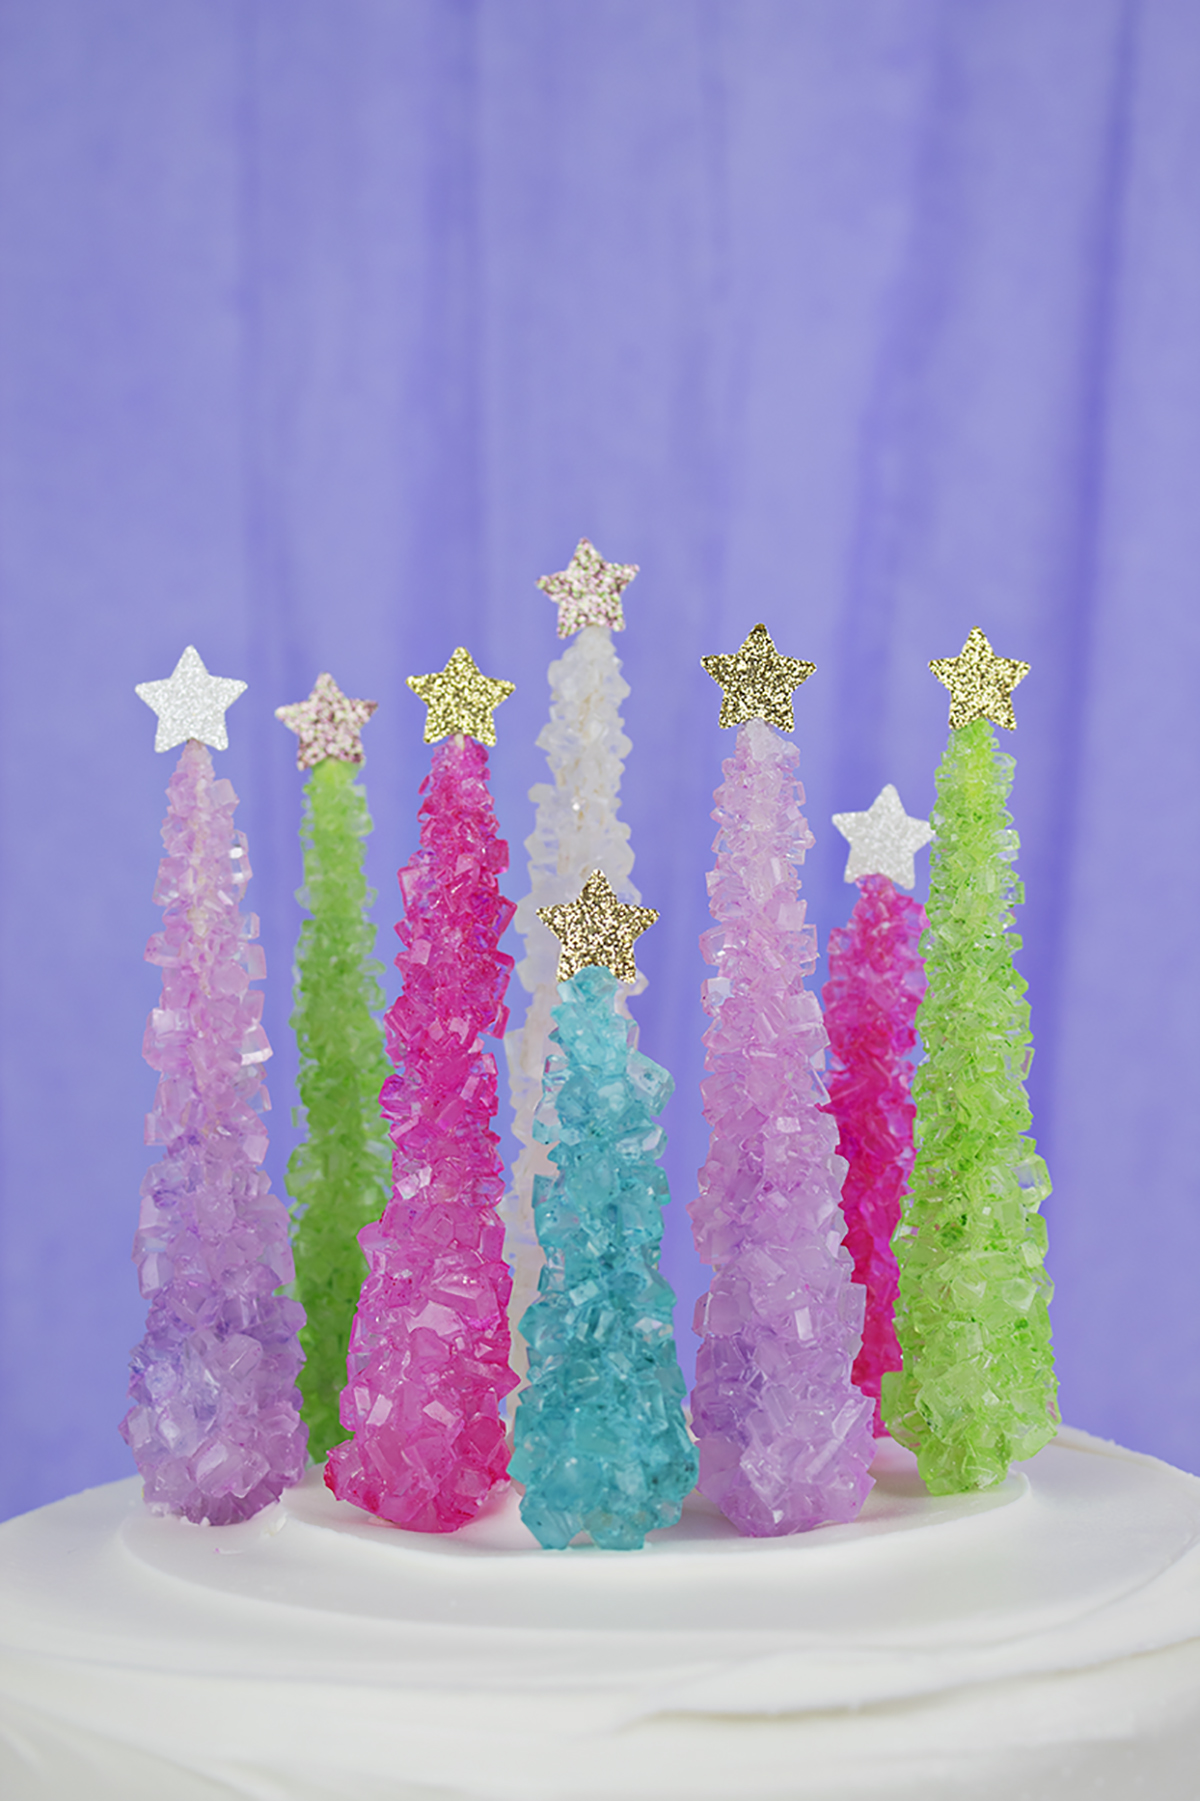
One of the things I like most about this project is that it's like a magical glittering Christmas forest! Plus there are so many color options out there for rock candy, so you can match any decor.


Using scissors, carefully cut the sticks off your rock candy, leaving about 1/4 inch of wood. I recommend cutting while holding it up off the table and twirling the stick to prevent pieces of candy from breaking off.

Ta-da! A perfect little tree in the making.
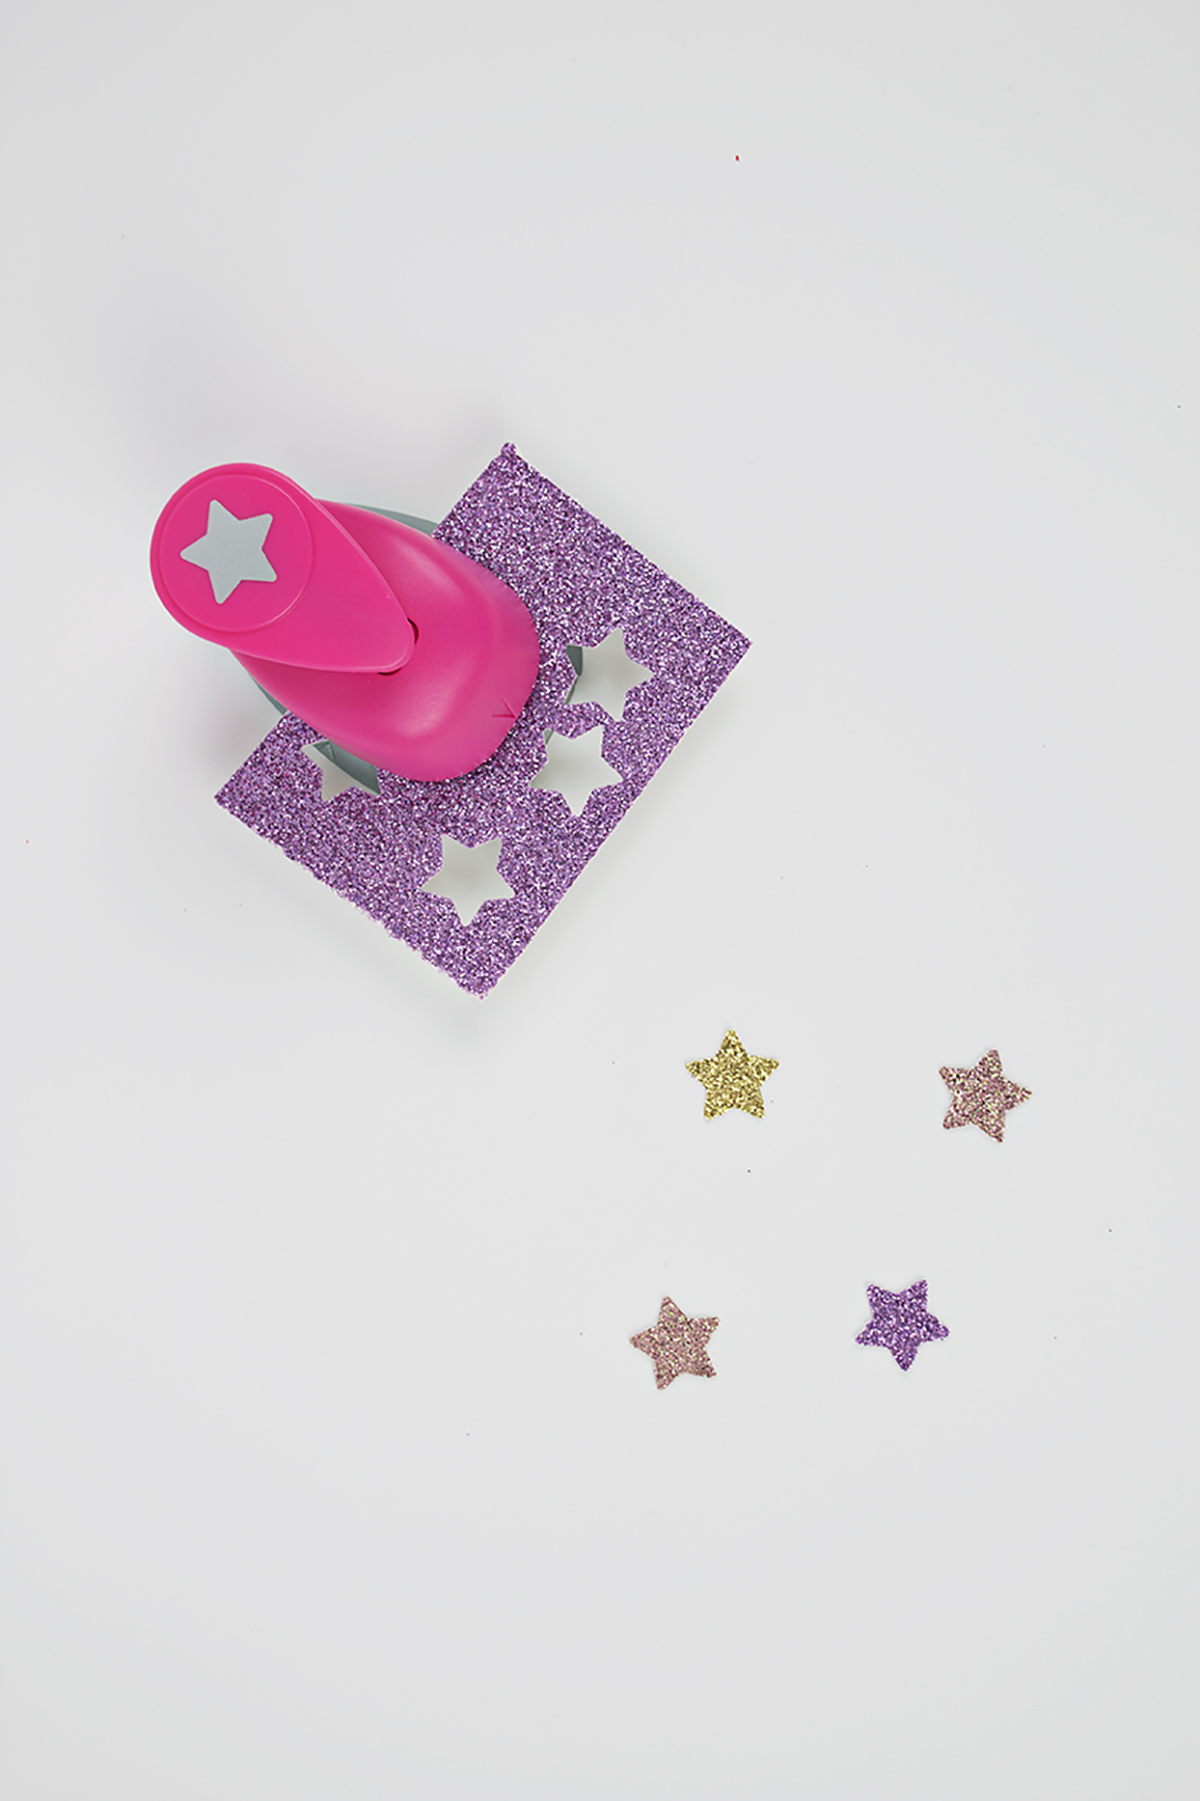
Use the star punch to cut the glitter paper. I picked neutral colors that would enhance the colors of my trees without clashing with them.

Cut a toothpick in half, then use the nail file to sand the edge smooth.


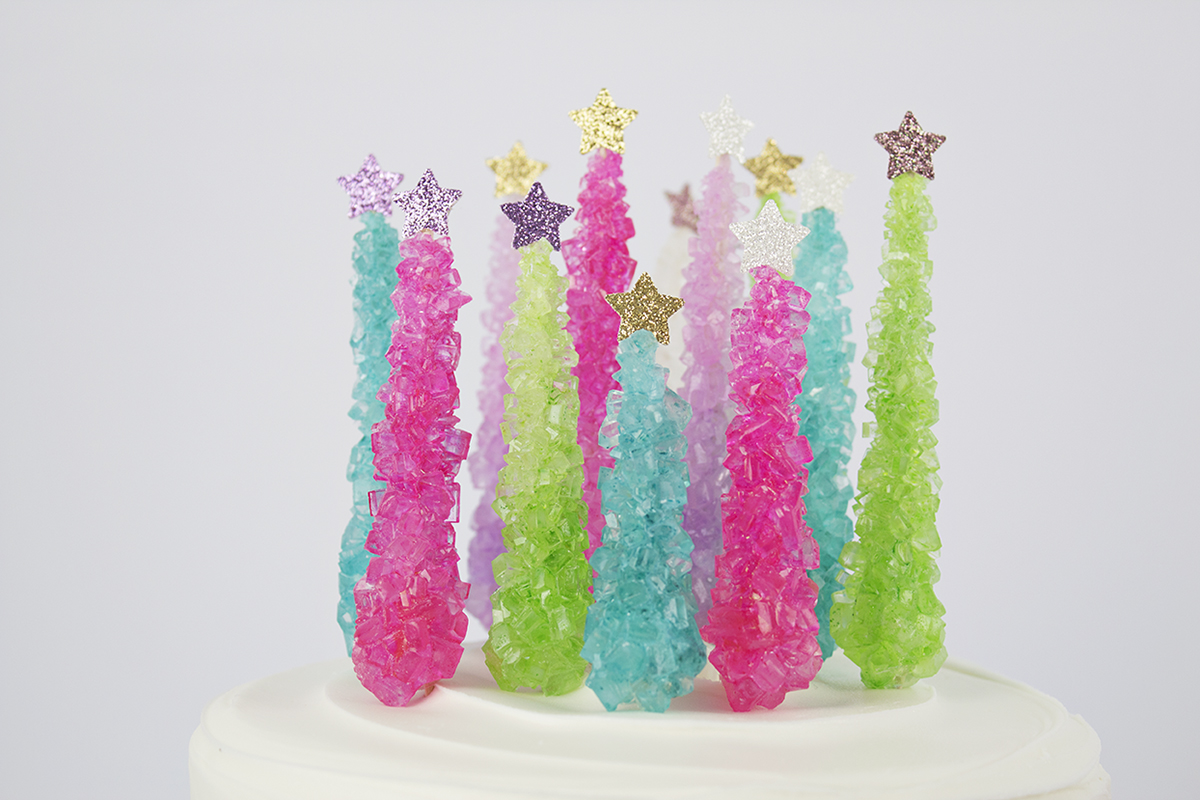
Using your glue gun, stick the star and toothpick onto your tree. I recommend gluing the toothpick to a large and covered crevice of the rock candy to create a strong but hidden base. Use varying lengths to keep it interesting.

So cute! That white one marches to the beat of its own drum though....
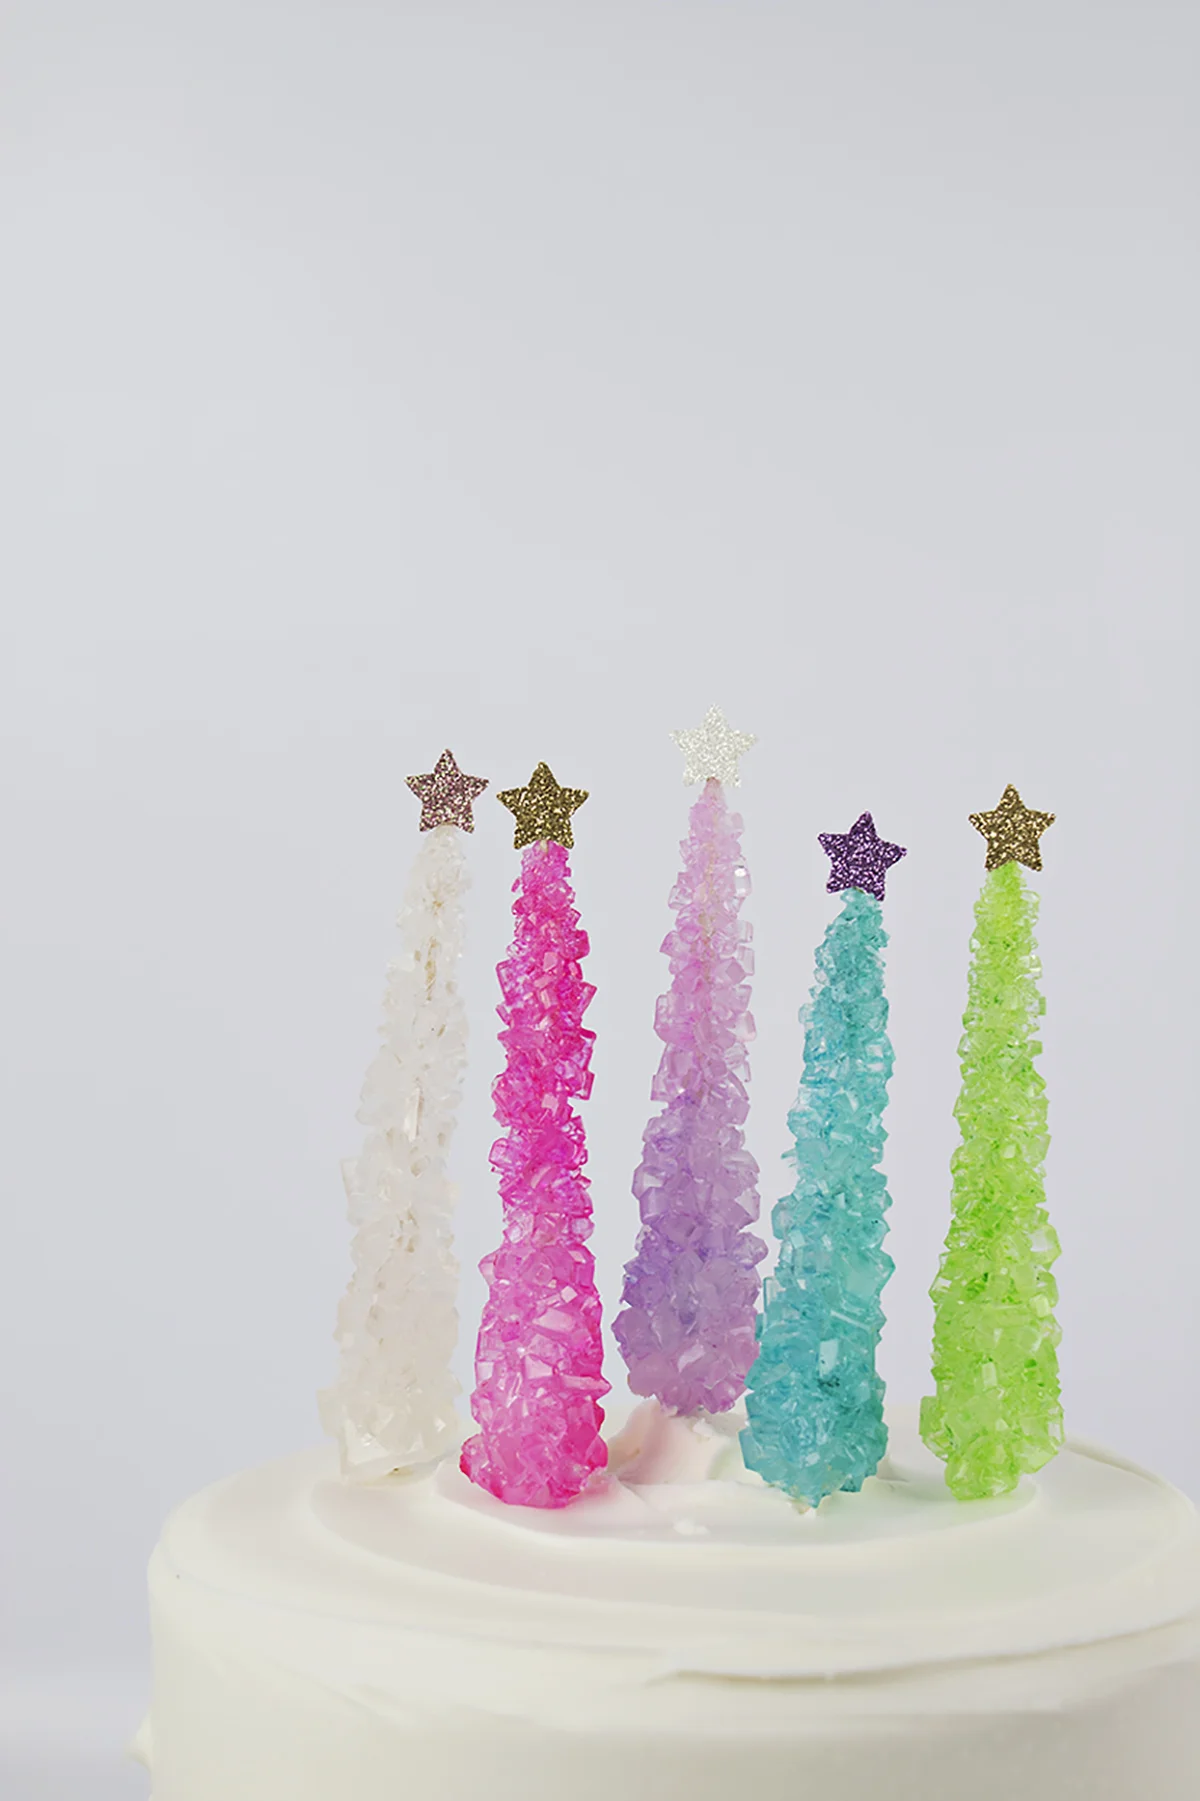
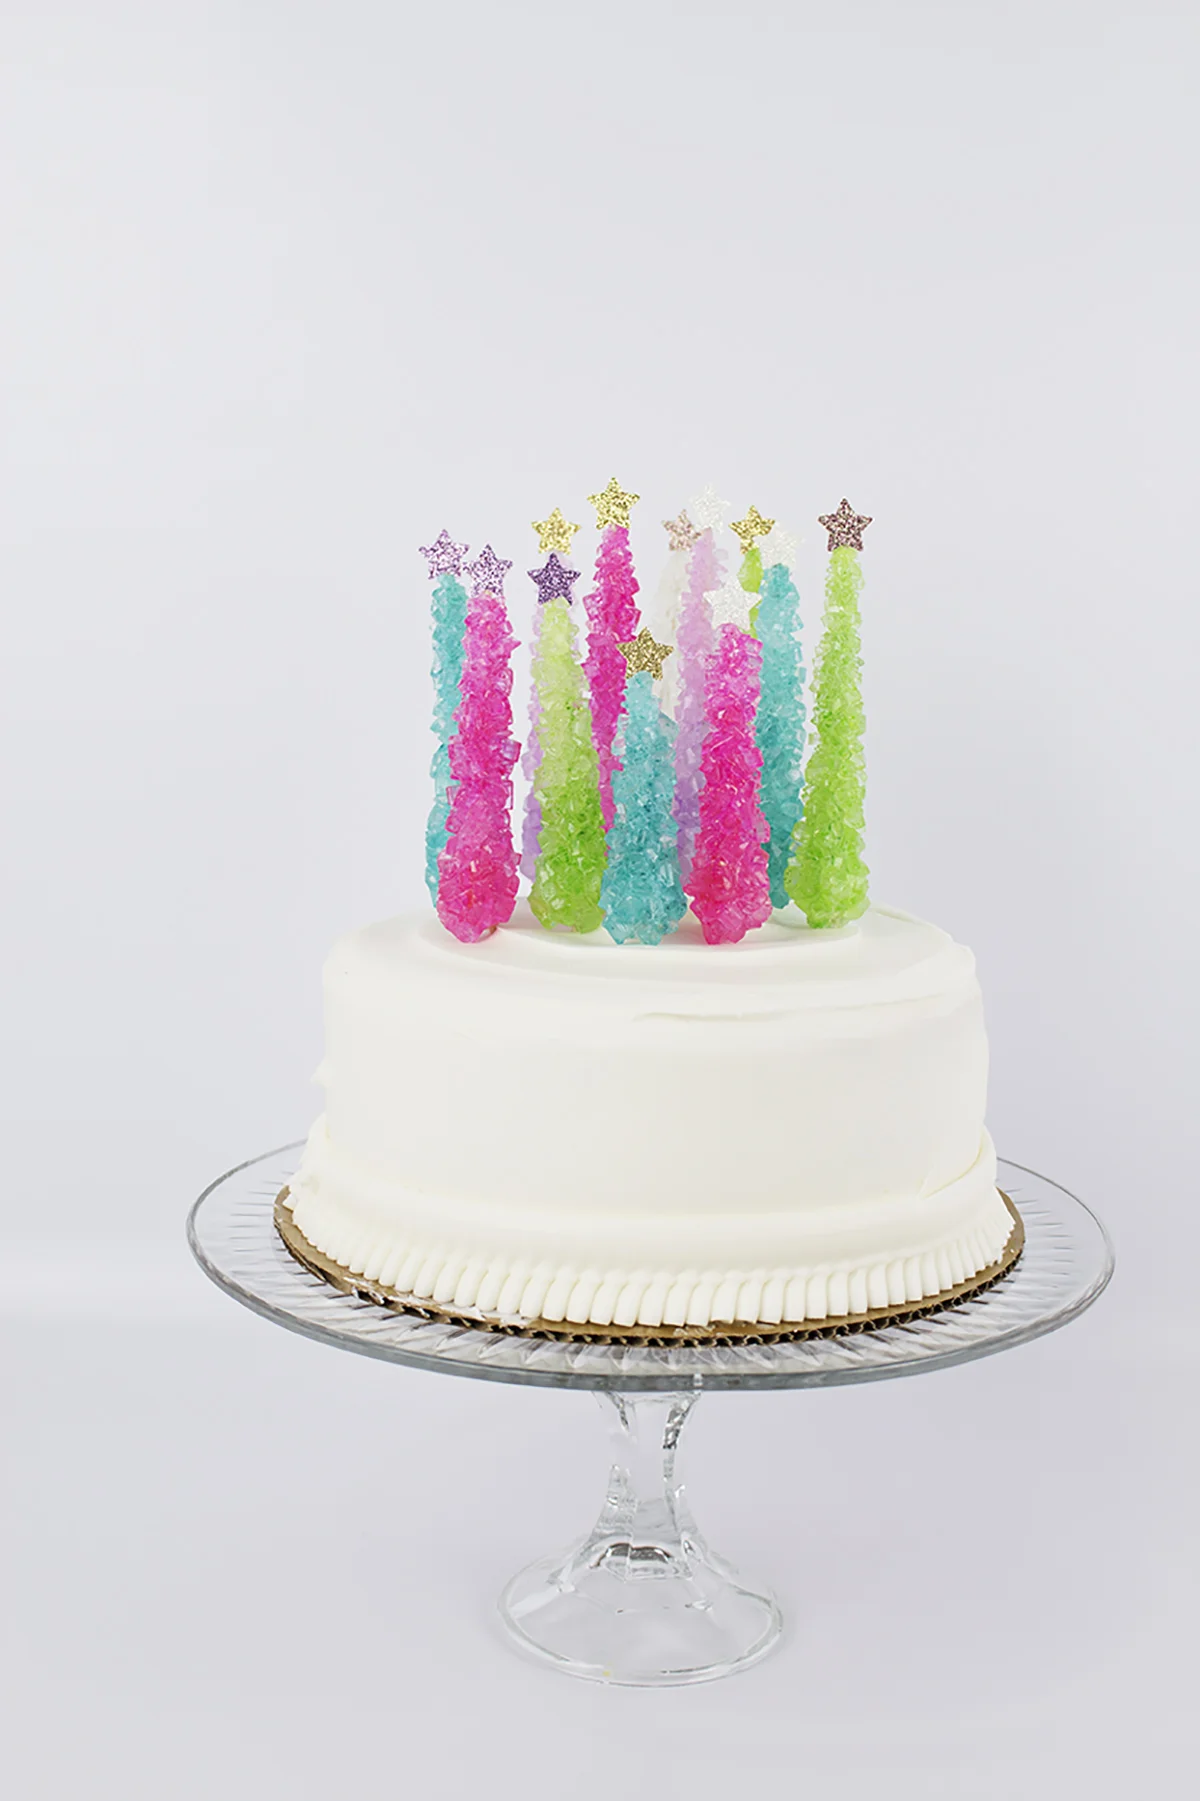
Once they're all done, carefully nestle your rock candy trees into your cake. You can keep it simple with just a few for a pop of color, or create your own little forest.

These are super cute for a winter birthday party or holiday gathering with friends. They really would fit in well all winter, especially if you put a different shape at the top of the tree. Maybe a heart for Valentine's day?!
And that's all there is to it folks. Once you're done, you can probably still eat the rock candy. Ya know, if you don't mind eating around the glue and paper ;)

I hope you enjoyed Cathy's crazy/amazing idea of the week. If you create your own toppers using this tutorial, I have to see it! Tag me on instagram and your picture might get featured. So what do you think? Do you see trees in your rock candy now? Let me know in the comments below!


