How to Plan a Glam Friendsgiving Dinner

It's a well known fact that everyone's favorite part of Thanksgiving is the food. Seeing your crazy aunt is so worth it when you can have her tasty Mac and cheese. But what's the best part of of Thanksgiving weekend? Besides shopping (and not having to work for 4 days!) it's Friendsgiving.  While your grandma is asking when you'll get married, your friends are sharing funny horror stories about the life of a single gal. Or maybe you're spending time together gushing about your friend's new boyfriend. Either way, the pressure is off and you're free to enjoy the food, the drinks and the company. How better to thank your gals for their support than by hosting a glam Friendsgiving dinner? I decked out my dining room with gorgeous golds, pops of pink and orange, and tons of teal. I'll show you how to do it too!

Disclaimer- This blog post contains affiliate links. I may receive a small commission if you decide to purchase anything. I only link to items I enjoy or would purchase myself.

It's a well known fact that everyone's favorite part of Thanksgiving is the food. But the best part of the 4-day weekend has to be Friendsgiving! How better to thank your gals for their support than by hosting a glam Friendsgiving dinner? Click for …

Dress it Up

Since I knew the table decor would be really colorful, I opted for a simple ivory tablecloth to keep it neutral. I added an ivory sequin table runner for a bit of subtle glitz without distracting from all the other decorations.

It's a well known fact that everyone's favorite part of Thanksgiving is the food. But the best part of the 4-day weekend has to be Friendsgiving! How better to thank your gals for their support than by hosting a glam Friendsgiving dinner? Click for …

For the centerpiece, I decided to go with the new hot trend, painted pumpkins! While most people like to use real pumpkins, I opted for fake ones. I find that the real ones always get mushy at the bottom, but these fake ones can be used for years to come! All I had to do was spray them with primer, then a few coats of spray paint.

It's a well known fact that everyone's favorite part of Thanksgiving is the food. But the best part of the 4-day weekend has to be Friendsgiving! How better to thank your gals for their support than by hosting a glam Friendsgiving dinner? Click for …

One of my favorite parts of this table are these pumpkin candle holders. They come in black, but I think they look so much better spray painted gold! It gives them an elegant touch, don't you think? I also scattered some orange votive holders around the table for some extra color and a bit of romance. 

It's a well known fact that everyone's favorite part of Thanksgiving is the food. But the best part of the 4-day weekend has to be Friendsgiving! How better to thank your gals for their support than by hosting a glam Friendsgiving dinner? Click for …

I added some flowers, because everyone loves flowers. I got mine from the supermarket, and it was already a tiny little bundle! I just trimmed the ends and stuck it right in the vase. It was easy peasy and really dressed up the table. I also found this really cute desert gems cactus at the supermarket, which is a cute and funky alternative to flowers. 

It's a well known fact that everyone's favorite part of Thanksgiving is the food. But the best part of the 4-day weekend has to be Friendsgiving! How better to thank your gals for their support than by hosting a glam Friendsgiving dinner? Click for …

Tablescape

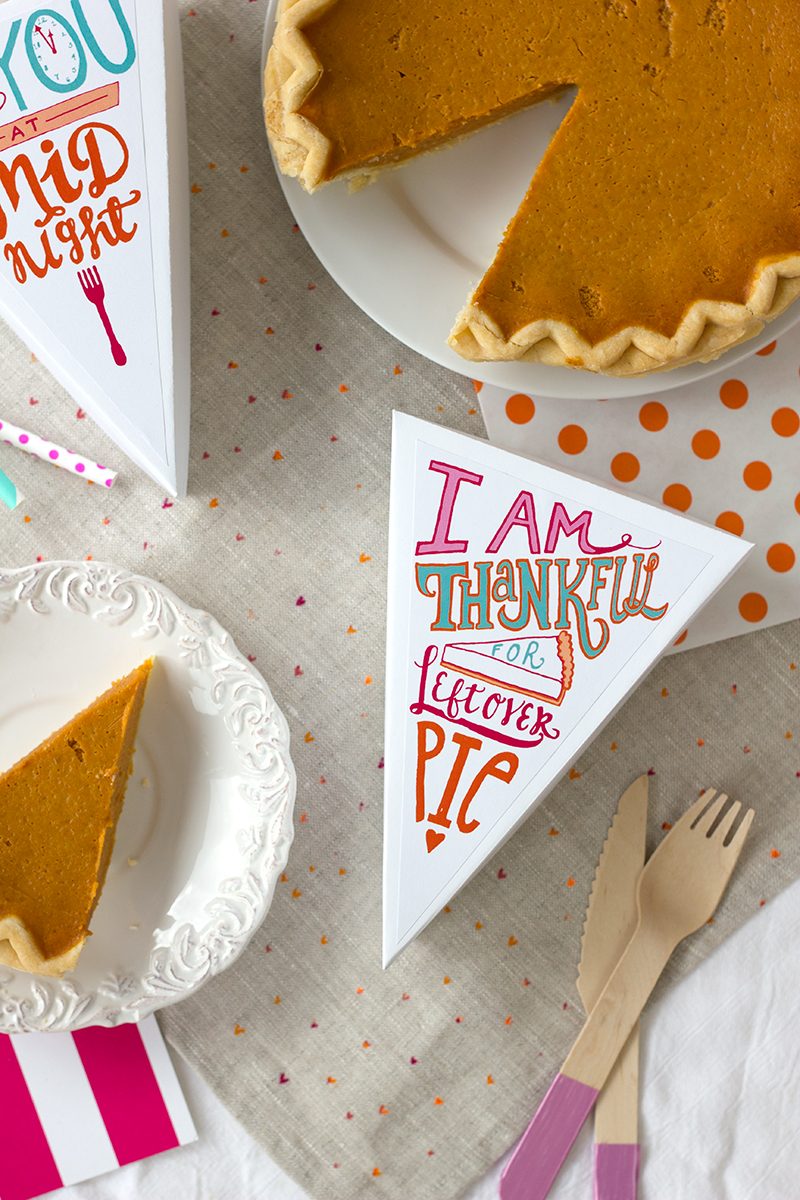
Fun fact- all the tableware is disposable! This means cleanup will be a breeze, but you don't have to sacrifice style. I ran over to my local Party City and picked up these gorgeous gold rim plastic plates, pink and gold plates, and neon pink champagne glasses. They added the perfect pop of color while still keeping it classy. My utensils came from Michaels. They are similar to ordinary disposable utensils, except that they have a really fun handle! The napkins were from Oriental trading as leftovers from my Halloween party

It's a well known fact that everyone's favorite part of Thanksgiving is the food. But the best part of the 4-day weekend has to be Friendsgiving! How better to thank your gals for their support than by hosting a glam Friendsgiving dinner? Click for …

To create the place settings, stack your plates on top of each other and place them in the center of each chair. Take a napkin and place it diagonally with the ridges facing outwards. Stack your utensils on the napkin, placing your spoon first, then your fork and finally your knife. Make sure your knives are all facing the same direction! I created a fan shape to keep it different and interesting. Finally, place your diy mini faux pumpkin piñata in the center. If you want to assign seating, these would be great as place cards too! Just add a strip of paper with each person's name on it.

It's a well known fact that everyone's favorite part of Thanksgiving is the food. But the best part of the 4-day weekend has to be Friendsgiving! How better to thank your gals for their support than by hosting a glam Friendsgiving dinner? Click for …

Since your cups will be empty when people arrive, you have to give them a little flair. To do this, I simply folded up an additional napkin to add a pop of color. Everyone can always use an extra napkin, right?

It's a well known fact that everyone's favorite part of Thanksgiving is the food. But the best part of the 4-day weekend has to be Friendsgiving! How better to thank your gals for their support than by hosting a glam Friendsgiving dinner? Click for …

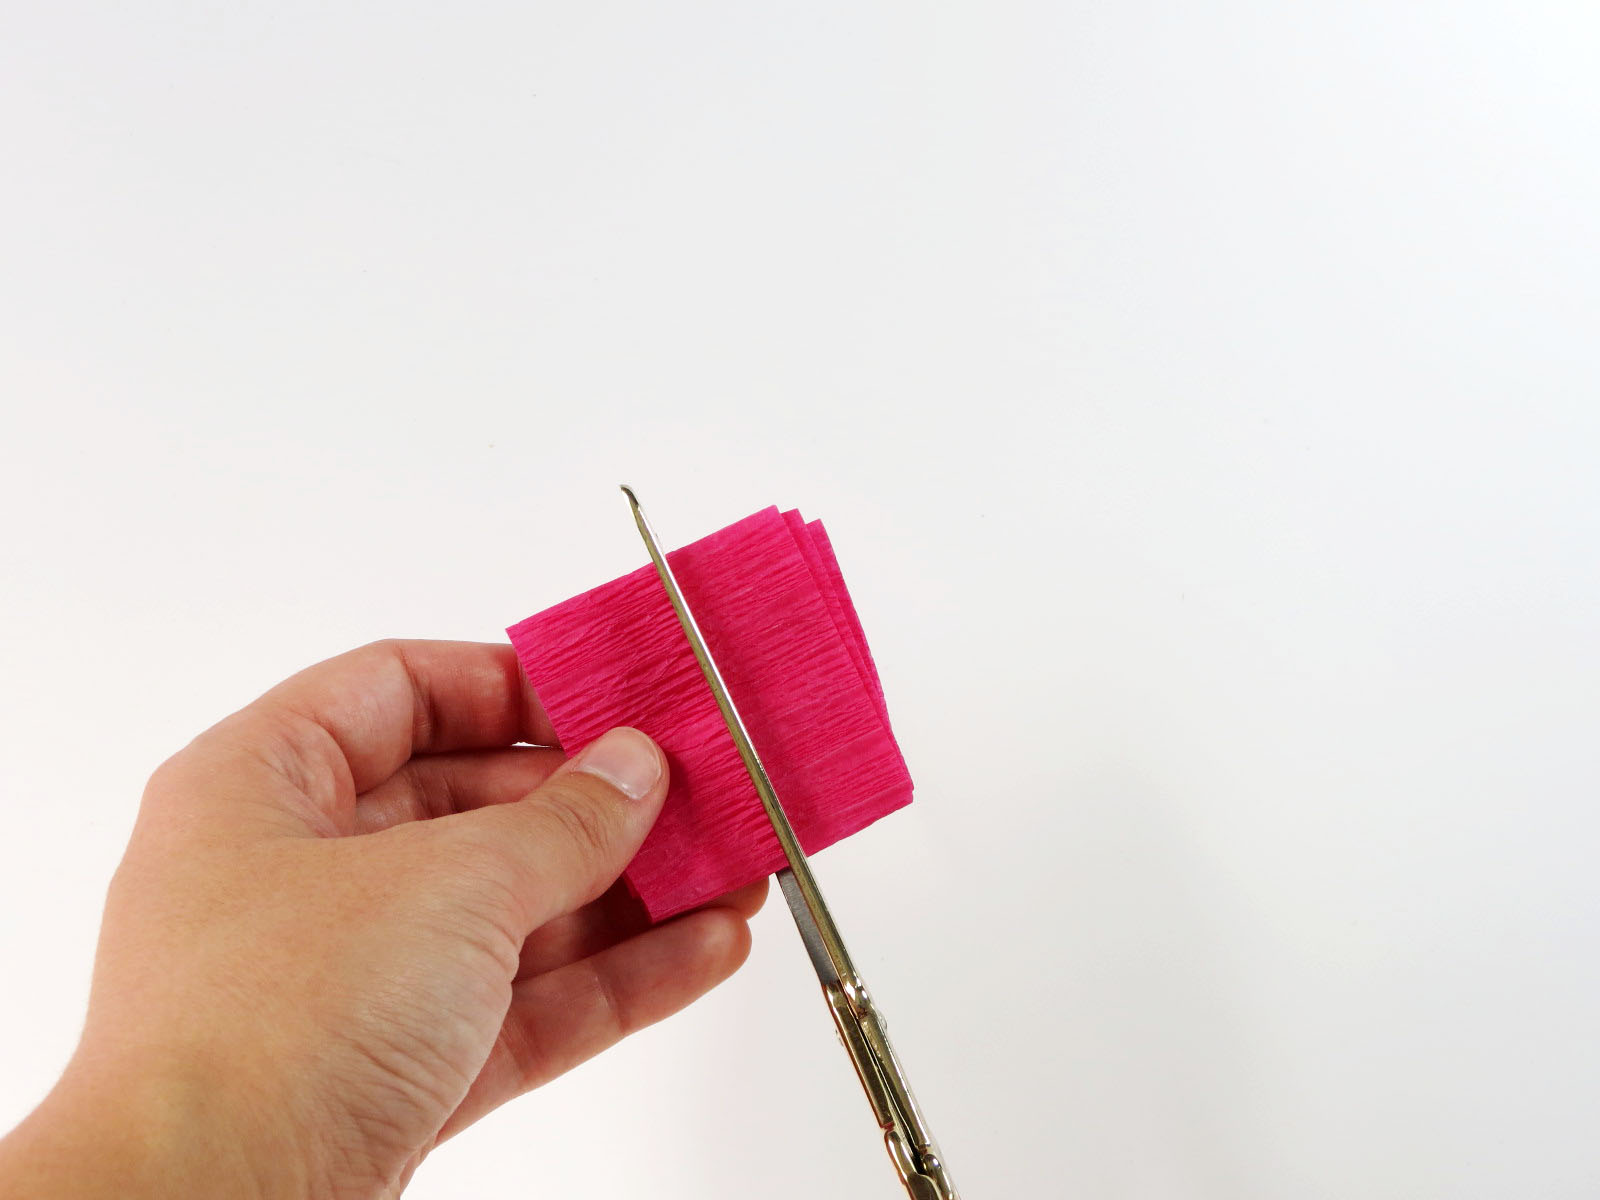
Napkin Folding Tutorial

It's a well known fact that everyone's favorite part of Thanksgiving is the food. But the best part of the 4-day weekend has to be Friendsgiving! How better to thank your gals for their support than by hosting a glam Friendsgiving dinner? Click for …

1. Place your napkin down on a flat surface. (Put the pattern facing the top- this was my bad for the photo!)
2. Fold in half lengthwise along the straw.
3. Turn the napkin sideways. Fold the corner down towards the bottom along the straw.
4. Flip over and repeat the fold.
5. Take your folded napkin and smooth down the edges.
6. Put the napkins into your glasses with the middle fold facing the back and enjoy!

Set up a Bar Cart

If you've got a bar cart, use it! It's a really simple way to dress up your space and it'll provide some extra room for things like spare cups and drinks. If your home doesn't have room for a bar cart, you've got to check out this folding one. It's cute and sturdy, and packs away easily when not in use! It's the one I use at home and I LOVE IT! Seriously you guys, it's really colorful, strong,  and can be used indoors or outdoors.

It's a well known fact that everyone's favorite part of Thanksgiving is the food. But the best part of the 4-day weekend has to be Friendsgiving! How better to thank your gals for their support than by hosting a glam Friendsgiving dinner? Click for …

Now that you've pulled your bar cart out, you have to dress it up for the occasion! I I covered my cart with sequin table runners and draped my colorful leaf garland on the front for an extra pop of color and to give it a little seasonal fair. I used my teal pumpkin as the focal point of my bar cart, and placed my cute Gather sign from Target on top. I placed my wine bottles around it, along with some champagne glasses. 

It's a well known fact that everyone's favorite part of Thanksgiving is the food. But the best part of the 4-day weekend has to be Friendsgiving! How better to thank your gals for their support than by hosting a glam Friendsgiving dinner? Click for …

On the bottom shelf, I put some extra glasses and bottles of wine, but you could also put an ice bucket, your barware, or some extra plates and napkins.

It's a well known fact that everyone's favorite part of Thanksgiving is the food. But the best part of the 4-day weekend has to be Friendsgiving! How better to thank your gals for their support than by hosting a glam Friendsgiving dinner? Click for …

And that's all there is to it! Throwing a Friendsgiving party is so fun and rewarding. Seriously, what could be better than an evening wining and dining with your gals?! How do you celebrate Fiendsgiving? Let me know in the comments below!

9 Tutorials to Help You Build the Best Thanksgiving

Ok guys, now that we are in November and Halloween is officially over, it's time to start thinking about Thanksgiving! Towards the end of the year, it seems like we barely have a minute to rest. By the time September rolls around we are nearly simultaneously hit with Halloween costumes, Thanksgiving recipes, and Christmas gifts. You've got to start early if you want to come out ahead! I've rounded up some of my favorite Thanksgiving DIY's to give your table the colorful makeover it deserves!

Towards the end of the year, it seems like we barely have a minute to rest. You've got to start early if you want to come out ahead! I've rounded up some of my favorite Thanksgiving DIY's to give your table the colorful makeover it deserves. Click t…

This tablescape covered in ombre pumpkins is to die for!

Towards the end of the year, it seems like we barely have a minute to rest. You've got to start early if you want to come out ahead! I've rounded up some of my favorite Thanksgiving DIY's to give your table the colorful makeover it deserves. Click t…

This two ingredient apple cider mimosa recipe is deliciously fall.

Towards the end of the year, it seems like we barely have a minute to rest. You've got to start early if you want to come out ahead! I've rounded up some of my favorite Thanksgiving DIY's to give your table the colorful makeover it deserves. Click t…

These turkey feather place cards are the perfect way to assign seating.

Towards the end of the year, it seems like we barely have a minute to rest. You've got to start early if you want to come out ahead! I've rounded up some of my favorite Thanksgiving DIY's to give your table the colorful makeover it deserves. Click t…

These mini pumpkin florals make the best center pieces. 

Towards the end of the year, it seems like we barely have a minute to rest. You've got to start early if you want to come out ahead! I've rounded up some of my favorite Thanksgiving DIY's to give your table the colorful makeover it deserves. Click t…

This colorful leaf garland will brighten up any space!

These leftover pie labels are fabulous for taking home some extra.

Towards the end of the year, it seems like we barely have a minute to rest. You've got to start early if you want to come out ahead! I've rounded up some of my favorite Thanksgiving DIY's to give your table the colorful makeover it deserves. Click t…

These DIY mini faux piñatas will add a festive touch to the kids table. 

Towards the end of the year, it seems like we barely have a minute to rest. You've got to start early if you want to come out ahead! I've rounded up some of my favorite Thanksgiving DIY's to give your table the colorful makeover it deserves. Click t…

These clay wishbones are a fun twist on a classic.

Towards the end of the year, it seems like we barely have a minute to rest. You've got to start early if you want to come out ahead! I've rounded up some of my favorite Thanksgiving DIY's to give your table the colorful makeover it deserves. Click t…

This color wrapped wheat is a fun addition to a more traditional style table.

I just love planning for the holidays! Which one of these tutorials is your favorite? Let me know in the comments below!

DIY Mini Faux Pinata

I love a good piñata, but the thought of making them from scratch seemed a bit daunting and time consuming, especially for something that would be torn apart. That's when it hit me- faux piñatas! All the cuteness and fun of a piñata, made in half the time, that can be kept indefinitely. Win-win! So, I scoured Oriental Trading for supplies and got to work creating this tiny piñata tutorial.

I love a good piñata, but the thought of making them from scratch seemed a bit daunting and time consuming, especially for something that would be torn apart. That's when it hit me- faux piñatas! All the cuteness and fun of a piñata, made in half th…

You will need:

Papier mache boxes
Crepe streamers
Gold streamer
Candy
Scissors
Hot glue gun
 

Step 1: Take your crepe paper and measure around the perimeter of the piñata base. Add a teensy bit of extra length and cut.

I love a good piñata, but the thought of making them from scratch seemed a bit daunting and time consuming, especially for something that would be torn apart. That's when it hit me- faux piñatas! All the cuteness and fun of a piñata, made in half th…

Step 2: Fold your length of crepe paper in fours so that it's compact. Put the crepe paper against the lid rim and cut at the width of the rim. Save the wider section- you'll be using it for the bottom. Do this for all the colors to mix and match, or keep it the same for consistency.

I love a good piñata, but the thought of making them from scratch seemed a bit daunting and time consuming, especially for something that would be torn apart. That's when it hit me- faux piñatas! All the cuteness and fun of a piñata, made in half th…

Step 3: Wrap the lid in the narrow section, putting glue every few inches as you work so the glue stays hot.

I love a good piñata, but the thought of making them from scratch seemed a bit daunting and time consuming, especially for something that would be torn apart. That's when it hit me- faux piñatas! All the cuteness and fun of a piñata, made in half th…

Step 4: Wrap the bottom of the pumpkin with the wider section from before. Glue every few inches to secure it.

I love a good piñata, but the thought of making them from scratch seemed a bit daunting and time consuming, especially for something that would be torn apart. That's when it hit me- faux piñatas! All the cuteness and fun of a piñata, made in half th…

Step 5: Now that the perimeter of your pumpkin is wrapped, you can start the piñata part at the top! Cut a length of crepe paper, and fold it so it's narrow. Cut in half width-wise. 

I love a good piñata, but the thought of making them from scratch seemed a bit daunting and time consuming, especially for something that would be torn apart. That's when it hit me- faux piñatas! All the cuteness and fun of a piñata, made in half th…

Step 6: Take your folded crepe paper and cut slits close together to make the pinata fringe.

I love a good piñata, but the thought of making them from scratch seemed a bit daunting and time consuming, especially for something that would be torn apart. That's when it hit me- faux piñatas! All the cuteness and fun of a piñata, made in half th…

Step 7: Starting at the bottom, glue the fringe onto the top of the lid. Continue all the way to the top.

I love a good piñata, but the thought of making them from scratch seemed a bit daunting and time consuming, especially for something that would be torn apart. That's when it hit me- faux piñatas! All the cuteness and fun of a piñata, made in half th…

Step 8: Trim the excess from the sides of the lid. 

I love a good piñata, but the thought of making them from scratch seemed a bit daunting and time consuming, especially for something that would be torn apart. That's when it hit me- faux piñatas! All the cuteness and fun of a piñata, made in half th…

Step 9: Fill with candy. Finito!

I love a good piñata, but the thought of making them from scratch seemed a bit daunting and time consuming, especially for something that would be torn apart. That's when it hit me- faux piñatas! All the cuteness and fun of a piñata, made in half th…

Don't forget to make some teal pumpkins as well to support this great cause!

I love a good piñata, but the thought of making them from scratch seemed a bit daunting and time consuming, especially for something that would be torn apart. That's when it hit me- faux piñatas! All the cuteness and fun of a piñata, made in half th…

How cute are these? I think they would make great seat markers at your place settings or nice favors for your party guests. What do you think of faux piñatas? Better than the real thing?! Let me know in the comments!