Must Have Craft Supplies

For those of you who are unaware, I'm in the process of cleaning & organizing my craft room. Let's just say, it's been an adventure. Although I have a whoooole lotta stuff, some people may want to know, what do you need to get started? After all, not everyone ends up with a whole room full of craft supplies overnight, right? To help all you aspiring crafters, I've created this list of my must-have craft supplies, along with a FREE printable you can download and take with you to the craft store! This way, you can start your post-apocolyptic craft bunker too ;)

Creating your Crafting Arsenal

Ok, way back in March of 2017, I told you how to be efficient to get all our crafts projects done in time. Now, let's talk about the supplies we need to do them! Here are some of my favorite, must-have items in your craft stash.

Starting a craft stash? Click to find out my must-have items for crafters of any skill level, plus some tips to save money and to rock a DIY party!

1. Glue Gun 2. Jewelry Tools 3. Cricut Explore Air 4. Paper Cutter 5. Circle, Heart, Star Paper Punches 6. E6000 Glue and Photosafe Glue Stick 7. Glue Gun Caddy 8. Mini Iron 9. Small Scissors and Large Scissors 10. Washi Tape 11. Paper Roll 12. Self-Healing Cutting Mat 13. Fringe Scissors 14. Craft Caddy 15. Paintbrushes and Paint Tray

1. Glue Gun- this one needs no explanation, but I'll give you one. Glue guns are handy for almost everything! They're good for craft projects, sure, but you can also use them for temporary fixes, party decor, etc. I've used it on nearly every project I've done, including my Pineapple Garland, Snowcone Party Hats, and Cotton Candy Garland. I guarantee if you buy one, you'll find a reason to use it. So, go get one!

2. Jewelry Tools- I purchased these for making jewelry once upon a time, but they're just handy to have around. I've used them for several crafts projects already on the blog, like my KS Inspired Bracelets and Wood Bead Tassel Necklace, but they're also good for cutting fake flowers and even for fixing your own jewelry when it breaks! Unlike regular tools, these are smaller, so they're better for tiny objects and precise fixes.

3. Cricut Explore Air- I resisted buying a Cricut for a while, but it's so handy to have! I used it for the Rapunzel lanterns at my Disney Themed Engagement Party, for my sister's Halloween costume, and for my Mean Girls Conversation Hearts. I'll probably be using it for my wedding too! It cuts a whole bunch of materials as well, not just paper and vinyl! It's an investment for sure, but I think it's really fun to have.

4. Paper Cutter- This little gadget is perfect for cutting a straight line. It's great for making banners and cutting out Printables from the internet. I've used it for my TGIF 90's Themed Slumber Party and my Nautical Notecard Birthday Banner. It's easy to use and small to store. Remember those giant paper cutters we had in school that looked like a guillotine? This is a much smaller, safer version of that. 

5. Paper Punches (Circle, Heart, Star)-  These punches are great to have on hand if you need to spruce up a project. So far I've used them on my Nautical Notecard Birthday Banner and Rock Candy Christmas Trees. They're easy to use and small, so they're easy to store!

6. E6000 Glue and Photosafe Glue Stick - E6000 is my second favorite glue, after glue guns. It adheres to nearly everything! It's a little smelly, so you need to use it with a window open, but it's great. I've used it for my DIY Dollar Store Candy Jars, my Zebra Party Tray and my Circus Animal Drink Stirrers. The photo safe glue stick is great for scrapbooking projects, making cards, and making collages! I used them for my DIY 90' Pun Valentines.

Gimme access!

7. Glue Gun Caddy- I actually found this product while creating this blog post, and HAD to buy it. It holds your (hot!) glue gun, glue sticks, and protects your table. It's amazing! Never again will you be holding your half glued project mid-air while trying to remember where you left your glue sticks!

8. Mini Iron- A mini iron is great for small craft or sewing projects. I used it for my Mean Girls Conversation Hearts, the eye masks in my TGIF 90's Themed Slumber Party, and for touching up a wrinkly tablecloth on my Glam Friendsgiving Dinner. It's perfect for iron-ons!

9. Small Scissors and Large Scissors- I love that these scissors are so dang cute. Can we start with that?! I don't need to tell you why scissors are handy, so I'll just say that these small ones are great for when you need to do something precise, like making tassels, since they have pointed blades. These larger ones are great for cutting pieces of paper, cardboard, or other large things that require a straight line. I've used them in nearly every blog post, but they were especially useful for my Cotton Candy Garland and Rock Candy Christmas Trees.

10. Washi Tape- Washi tape has so many fun uses! It's great for temporarily sticking things together, for spicing up a project, or even organizing your planner! I used it to paint my beads for my Wood Bead Tassel Necklace, and it was super handy.

11. Paper Roll- This paper roll is great to avoid making a mess. You just need to pull a sheet long enough to cover your workspace to keep it clean. Ever dripped paint on your desk, or written with a marker that bleeds? This will help prevent them from staining! Sure, you can use newspapers but that means that 1. if you take photos of your project it won't look clean and neat, and 2. you'll have to find the newspapers. I highly recommend having this on hand!

12. Self-Healing Cutting Mat- This is one of my newest purchases. I haven't really used it yet (except as a really pretty backdrop for some craft projects) but it's got a ruler, which is great for measuring projects while working on them. It's also really thick and reversible, so you get twice the use and durability! Plus, the pink is SO much fun.

13. Fringe Scissors- Back when I made my Mini Faux Pintatas, I didn't have a pair of these scissors and I regretted it. They're so handy for making pinatas, fringe, and shredding up paper. It has 5 blades, so it makes more cuts and gets your project done faster! Again, VERY good for when you're making multiple projects at once!

14. Craft Caddy- A craft caddy is great for holding all your supplies and keeping them organized. I highly recommend having a spot that you use to store everything so that you can find it when you need it. There have been so many times that I lost my glue sticks, my paintbrushes, or my paper punches when I needed them. These crafting supplies are only useful when you can actually find and use them (duh). So, be sure to find a place where they can all stay together, like one big happy crafting family.

15. Paintbrushes and Paint Tray- These paintbrushes have a variety of uses! It's great to have multiple sizes so that you can do broad strokes quickly, but also have a nice thin one when you need to be more detailed. I really should invest in a new paint palette because mine is old and full of dried paint ("invest" = probably $3!) but paint palettes are really useful for pouring out just a little bit of paint or mixing colors. I've used paintbrushes on so many projects, including my DIY Donut Party Platter, my Colorful Leaf Garland, and my Circus Animal Drink Stirrers.

How to avoid going broke on craft supplies

I know what you're thinking- craft supplies can be expensive! I recommend adding a few items at a time, or using coupons! Michael's has plenty of sales and coupons you can use. There's also stores like A.C. Moore, Jo-Ann Fabric & Crafts, and Hobby Lobby. If you want to save even more, your local dollar store and even Walmart has a huge craft selection for cheap! Target also has some craft supplies, but not as many as Walmart. However, Target has some really CUTE stuff! Start small and keep adding more over time. Your crafting empire wasn't built in a day, right?

Gimme access!

Do you already have a craft stash? What's in it? What can you NOT live without? I think for me, it's my glue gun. I even have one at work! Let me know your faves in the comments below.

DIY Colorful Abstract Artwork

Nothing makes a house a home quite like artwork. It really completes the look and helps to show some personality. Unfortunately, I've got a whooooole lot of empty space on my walls, and I really want to change that! Or, I guess fortunately... since now I get to have some fun with artwork! For starters, I made this super easy abstract artwork using a spare canvas I had and some paint. It was basically free! The best part about this type of art is that you can really get creative and free by painting any way you like! For those that want a similar look to mine, here are the steps that I took.

Create easy abstract art with just a flick of your paintbrush! Click for the full how-to.

You will need:

Canvas Panels (here)
Paints (similar here)
Metallic gold paint (here)
Brushes (similar here)
Newspaper or similar to cover workspace

Directions:

Abstract Art Painting Collage.jpg

Ā 

  1. Using a large paintbrush, start painting thick lines of your first color. I went from light to dark, since it covered better. I tried to cover as much of the canvas as I could the first time around.
  2. Using a thinner paintbrush, paint smaller strokes of all the colors once again. This is a good time to try to cover any blank spots.
  3. Once I painted all the thinner lines, I went over them again lightly with a dry brush to ā€œblendā€ the colors and make it less streaky. 
  4. Using a medium thickness brush, paint on some white paint to lighten up the whole look. Be sure to have enough on the brush so that you’re adding some white, not just smearing around the paint already on there.
  5. Add more thin strokes of color to reduce the giant white streaks, then grab a wide brush for your gold accent.
  6. Paint on your gold strokes, then add more white if you want it to be a little lighter once again. And you’re done!

To hang up your canvas, add a hanging string using glue or purchase some inexpensive 3M Velcro. You can also put it in a frame!

Our Wedding, Part One

This morning I woke up to Ed Sheeran’s Perfect. Sure, it’s a cheesy love song like any other, but for me it reminds me so much of my wedding day. It filled me with such immense love and emotion today that I decided to sit down and finally write the recap of my wedding! For those who don’t know, John and I got married on September 2nd, 2017, after being together for over 6 years. It was an absolutely amazing day (despite its imperfections) that flew by so quickly. I wish I could go back and live it again, this time with understanding eyes. It was so surreal at the time that I felt like I couldn’t process what was happening. After nearly two years of being engaged, and all the wedding-related struggles I could hardly believe the magical day had finally come. 

Cathy&JohnWedding_0526.JPG

Our wedding was held at the beautiful Woodloch Resort in Hawley, PA. It was about 2-3 hours away from most of our family, so it ended up being a nice weekend away for most people. Those of us involved in the wedding drove up the night before to drop off all the supplies, us curly haired girls had our hair pre-straightened to save time the next day, and we had the rehearsal dinner. Once we arrived at the resort, it was a whirlwind. We rushed over to the salon, then got dressed, went to the venue, and started assembling our lantern favors with a team of about 8 friends, family members and 2 wedding planners from the venue. Our rental car (a huge SUV) was stuffed to the max. We even had to get a cargo box for the roof rack! The lantern favors were packed nice and compactly in their boxes, so we decided to make an assembly line the day before to quickly assemble them in the place where they would be handed out. Then we did the rehearsal (which, for some reason I was SO stressed about) and went over last minute details. Then we rushed back to change for the rehearsal dinner. There was barely enough time for a shower so I didn’t even get to wear makeup. Then, we got there and no one was ready yet! So, I was probably the most casual one at my own rehearsal dinner haha. I was originally supposed to stay at the rental house with my sister, but my stuff was all at the house with John (we rented our own small house) and I decided to stay there. It was probably better, because I know my mom was stressed out so I probably wouldn’t have been able to sleep! 

Cathy&JohnWedding_0184.JPG

The day started like any other. I woke up next to John, and we excitedly realized that this was our wedding day. We got dressed and got ready to part ways when we realized it was FREEZING outside. Early September is usually warm on the East Coast, especially since it’s right at the end of the summer. 80’s are a norm. The whole month was filled with 90-degree days. We woke up to like, 40 degree weather! It was also unbelievably foggy and misty. Although the weather called for possible rain later that day, I remained hopeful that we’d be able to have our outdoor wedding ceremony. 

Cathy&JohnWedding_0514.JPG

The rest of the morning was a whirlwind. We all gathered at my parents’ rented house and the stylists came to do everyone’s hair and makeup. I didn’t have bridesmaids (only my sister as maid of honor) but I wanted to take photos with some of my closest friends, so I offered them the option to get their makeup done. About 3/4 of the way through my hair & makeup, my photographer Lora Reehling came and started taking photos. It still felt 100% surreal. For starters, I didn’t think to request the nicest home available, so my parents ended up in a basic house filled with plaid wallpaper, red floral curtains, and wood everywhere. I can’t do anything but laugh about it now, but it made for some interesting photos.

girls.jpg
Cathy&JohnWedding_0013.JPG

I want to take a minute to talk about what I wore, especially that dress! As you may remember, I tried on about 80+ dresses before I was just about ready to give up. I tried on nearly every ball gown-style dress in my price range, and nothing felt right. I kept thinking that maybe a ballgown wasn’t the way to go, but I kept being drawn to them, so the attendants would keep bringing them to me. I know a lot of brides don’t want a ball gown, but try one on and fall in love. I figure this is probably why they kept bringing them to me. I was the opposite. I wanted to wear a ball gown… it made SENSE for me to wear a ball gown. But I would always start by telling them, I tried on a lot and I want to try other things. As soon as I tried this Maggie Sottero dress on (with the intention of wearing a poofy ball gown skirt over it, by the way) I immediately knew it was exactly what I wanted. It had the sweetheart top, the fitted bodice so you could actually see my body, and a poofy skirt at the bottom so that you could get that princess vibe that we all knew I needed. Every other dress I tried on, I kept wondering if John would like the way it looked. When I tried this one on, I didn’t even question it. I knew he would love it, and more importantly I loved it! Since I had originally planned to wear a blush pink dress and instead wore ivory, I went with blush pink accessories. My shoes were by Badgley Mischka and they were pefect! I knew I needed a wedge for an outdoor wedding, and I loved seeing all the shoes with amazing rhinestones online, so I needed a pair for myself. I loved the scalloped design on the wedge. It was very Little Mermaid, which fit in perfectly with my wedding decor! Then, my veil which was custom made in PINK TULLE! I knew I wanted a pink veil when I saw one on Facebook a while back, and I kinda wish I had been braver and gone with a slightly bolder pink. Most people didn’t notice that it was pink because it was so subtle, but it really matched the whole ensemble well! 

Cathy&JohnWedding_0005.JPG
Cathy&JohnWedding_0176.JPG
Cathy&JohnWedding_0256.JPG

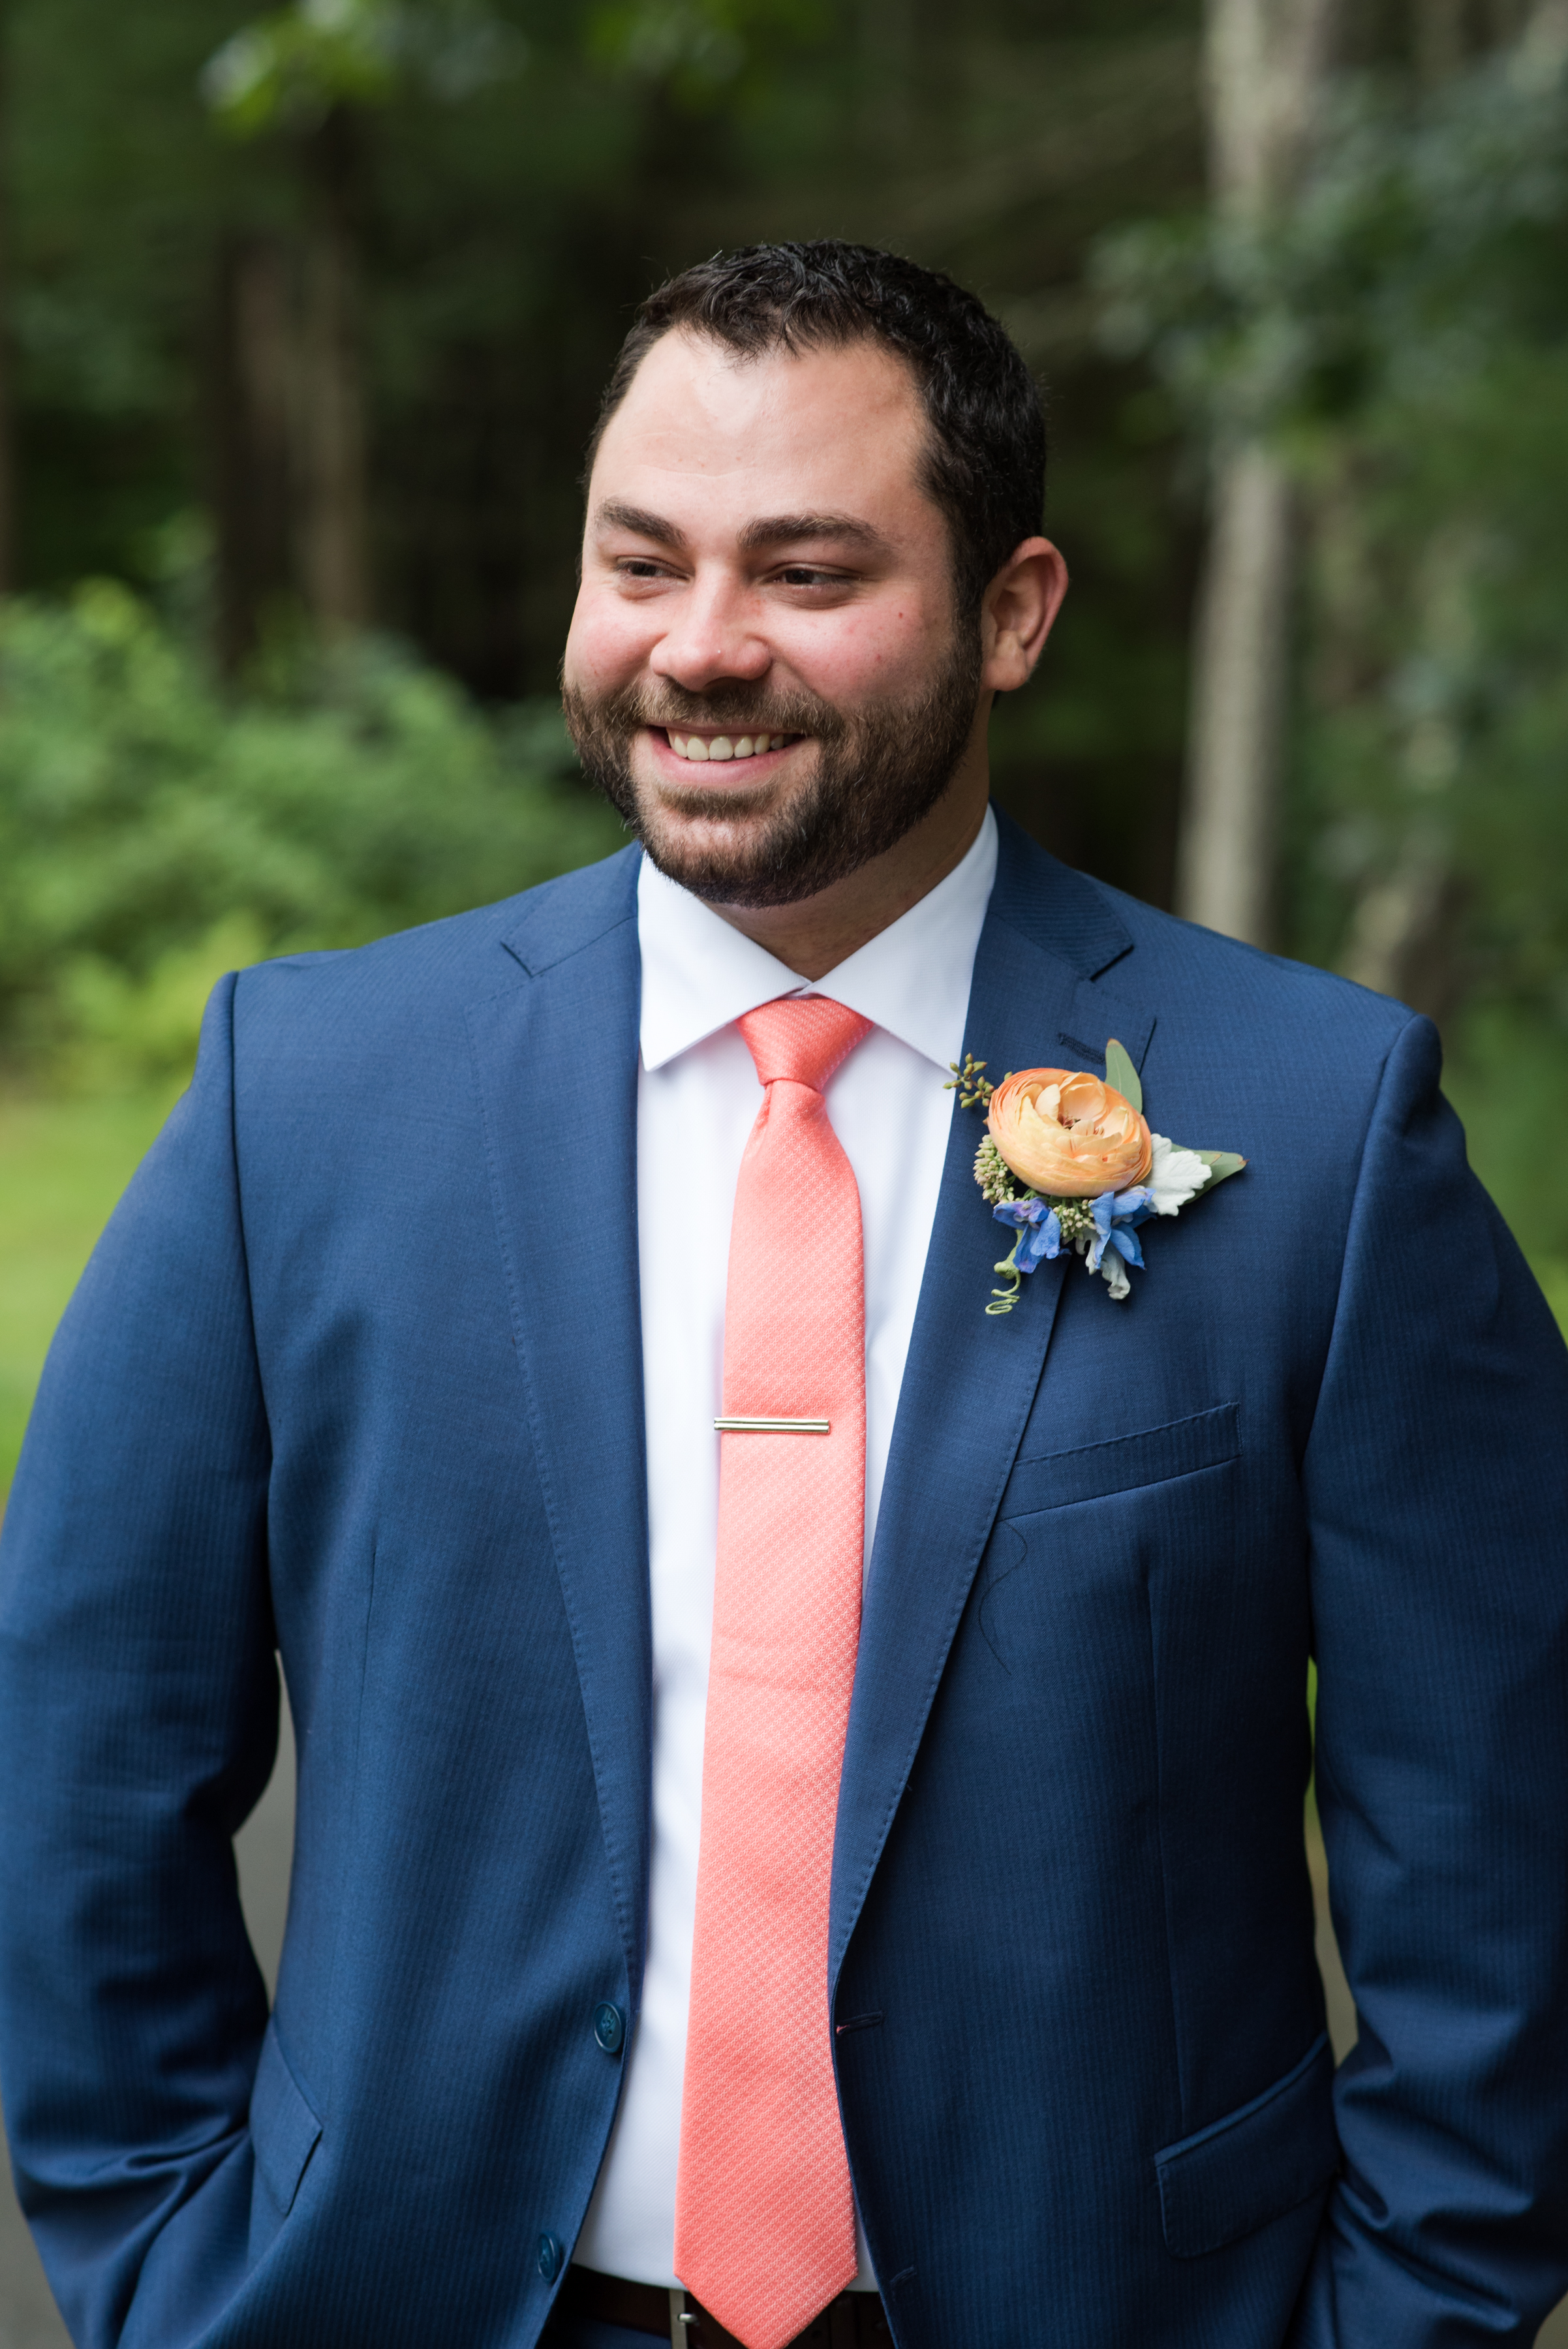
Ok, back to the wedding day! We took some group photos with my girls before I started to get dressed. That’s when I started getting the calls, since rain was on the horizon. They asked if I wanted to move the wedding indoors, and I refused. I said that unless it was actually raining, I would get married outside no matter what. The outdoor ceremony is what we loved the most about Woodloch, so I wasn’t about to give up that easily! As I was getting dressed, John and his family were outside taking photos.

Cathy&JohnWedding_0128.JPG
Cathy&JohnWedding_0133.JPG
Cathy&JohnWedding_0166.JPG

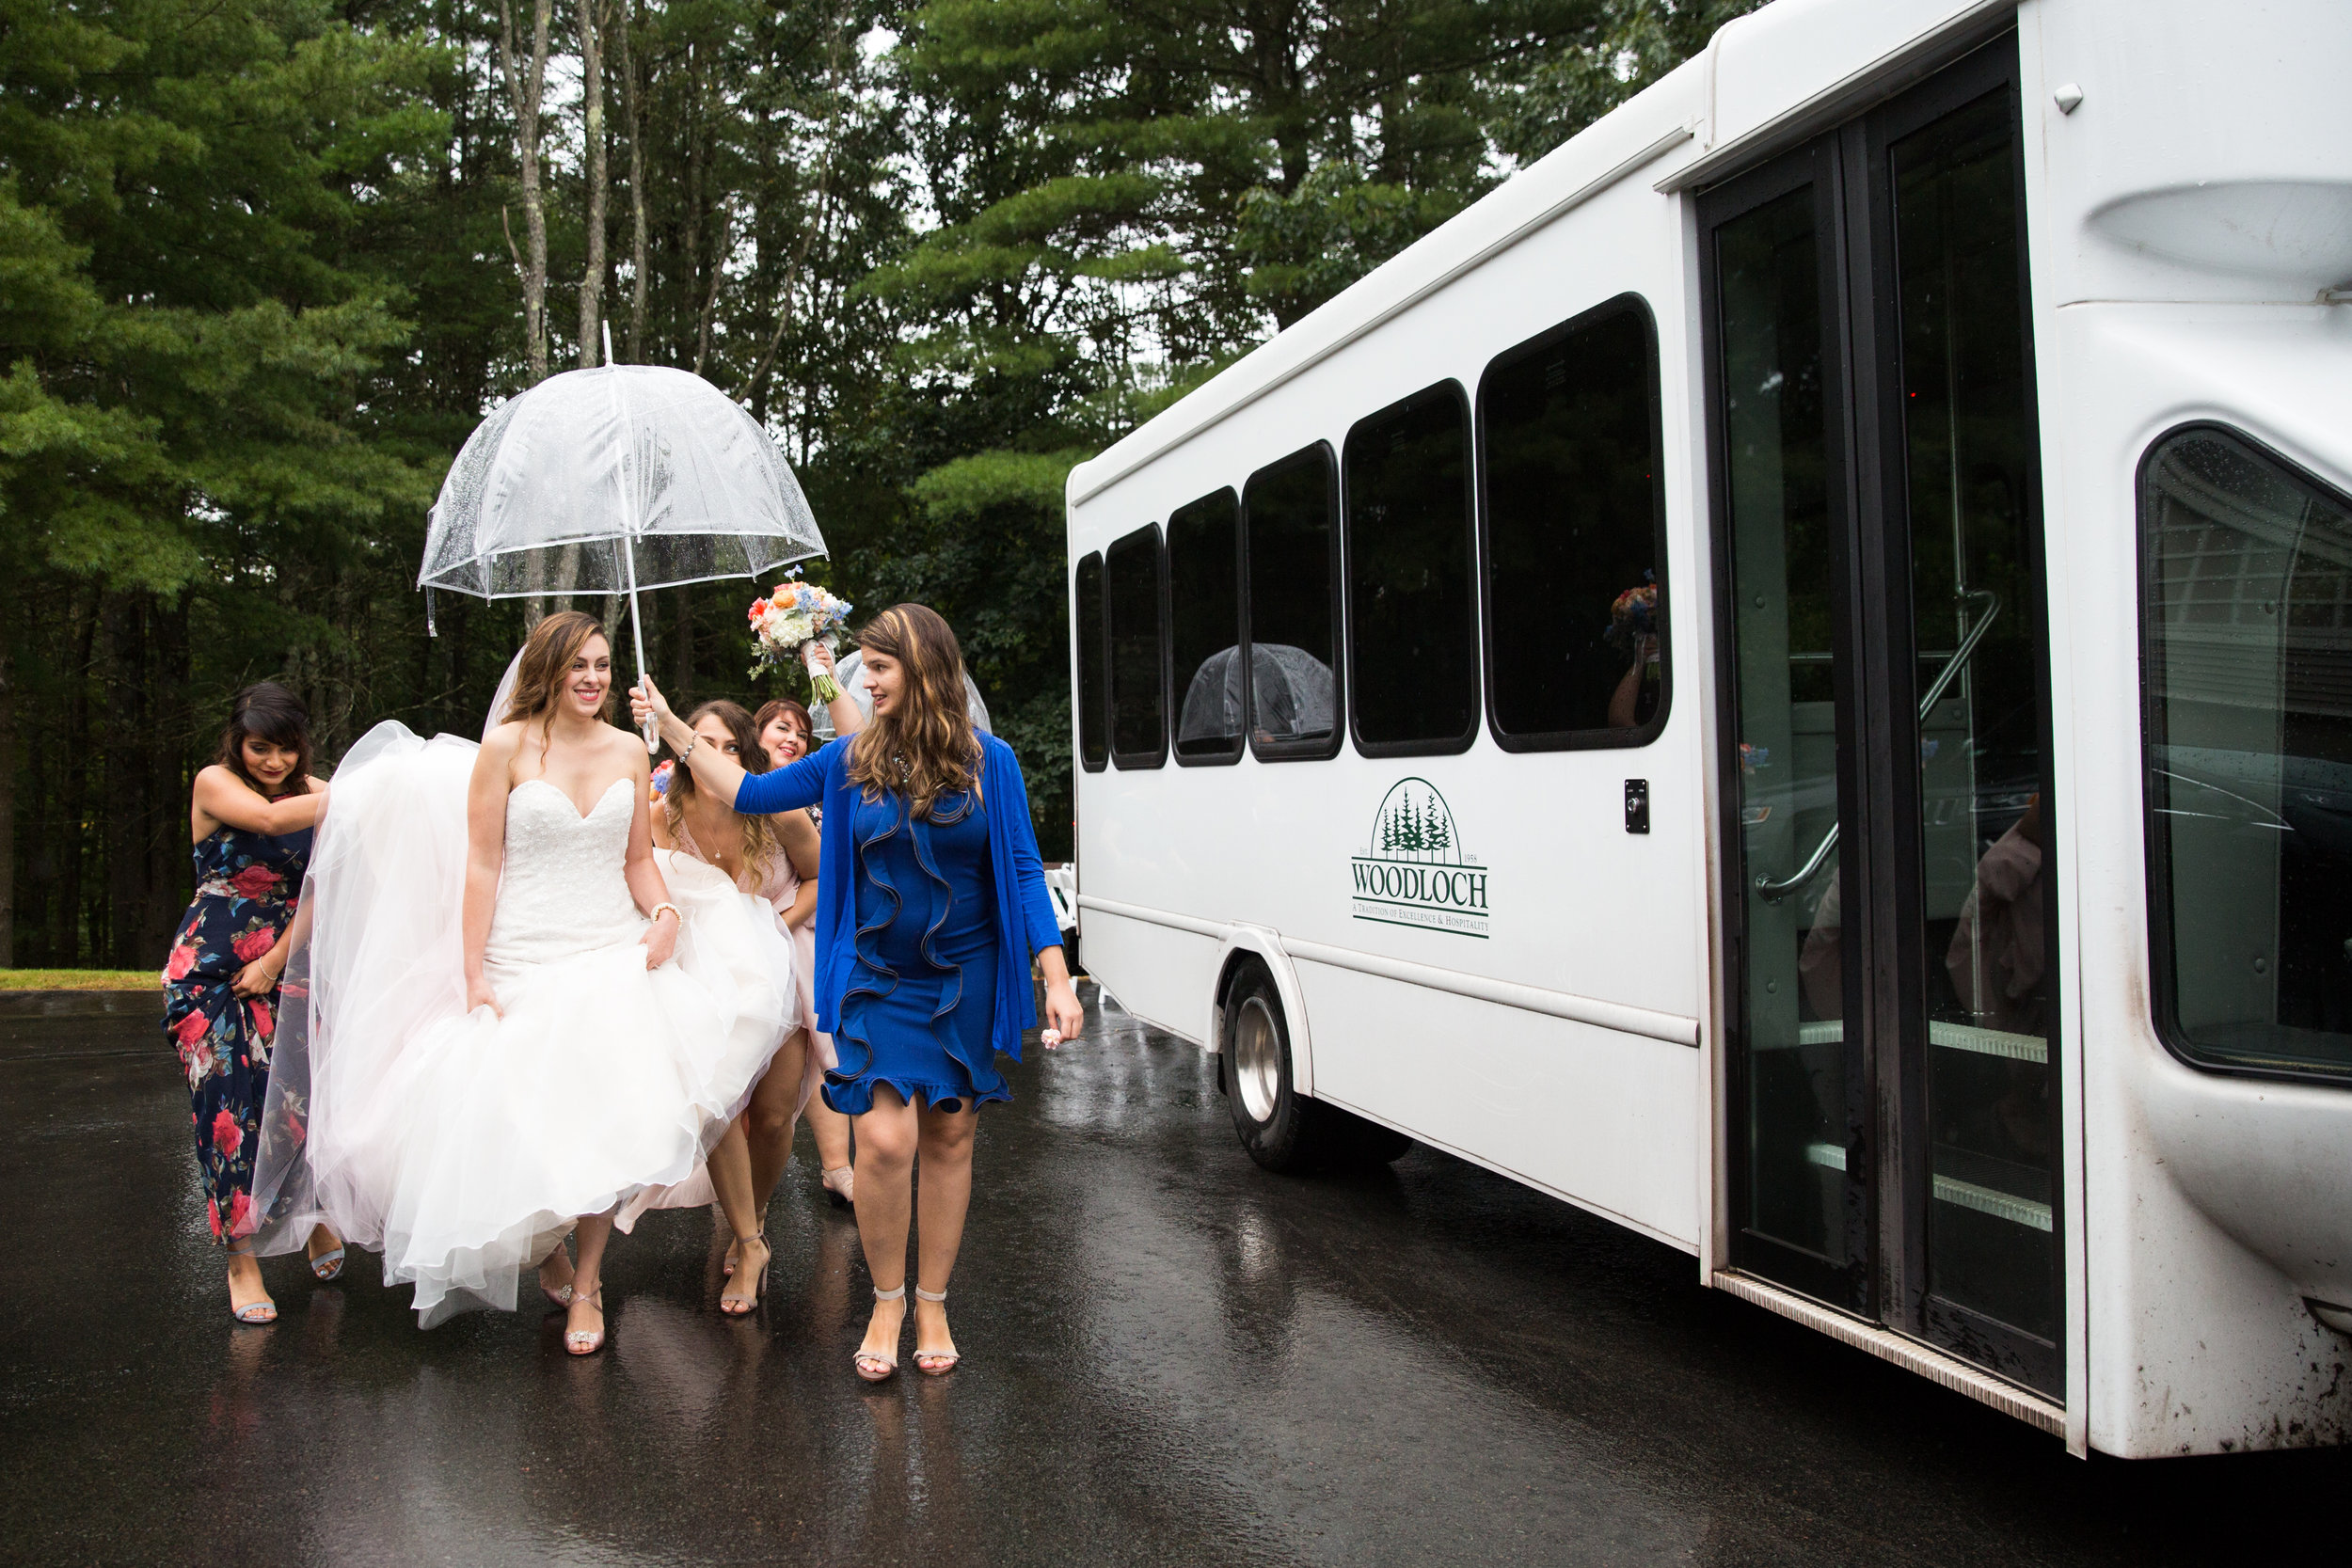
Once they were done, it was my turn to go outside. And almost like twisted fate, JUST AT THAT MOMENT, it started to pour. I was ready to curse the skies, but my photographer leaped into action and found an area under a tree that had natural cover. We stood under there taking photos for at least 30 minutes with barely a mist coming through. Unfortunately though, it was during these important photos that the calls started coming in, asking if I would make the decision to move the wedding indoors. We still had about an hour to the ceremony, so I said that unless it was raining at the time of the ceremony, I did not want to move it indoors. Well, after about 30 calls from the venue (and John) asking if we could please finally move it indoors, the decision was made when the ceremony sound guy said that he would not be putting his equipment outside in the wet grass. Having a silent wedding where the officiant is screaming so everyone could hear her was not my idea of fun, so I finally agreed to have it indoors. (PS- still mad that it rained that day!! It was the only cold and rainy weekend day in all of September).

Cathy&JohnWedding_0205.JPG
Cathy&JohnWedding_0219.JPG
Cathy&JohnWedding_0276.JPG
Cathy&JohnWedding_0289.JPG

The next 20 minutes or so was such a blur. I arrived at the venue and was whisked into the bridal suite while John waited near the bar of the main dining room. Everyone lined up to go into the ceremony while I hid in the bridal suite downstairs, waiting for my cue. That’s when they told me that John, who barely shows emotion, was already crying. He had insisted to me, and everyone else, that he definitely would not be crying. He didn’t understand why anyone thought he would cry, yet here he was! Already crying before even seeing me. Once John was safely inside the ceremony room, I was led upstairs. Up until this point, it all seemed surreal. When I came up the stairs, rounded the corner, and saw my sister, I suddenly realized this was really happening. We are very close in age, so we would always talk about our wedding days and I always knew she would be my maid of honor. Seeing her all dressed up- with her hair done and makeup on, holding a bouquet- it slapped me right in the face with emotion. And for a second I really thought I was going to start crying right there. Luckily, it went away as fast as it came, because I didn’t want to mess up my makeup! Haha.

Cathy&JohnWedding_0301.JPG
Cathy&JohnWedding_0310.JPG
Cathy&JohnWedding_0331.JPG

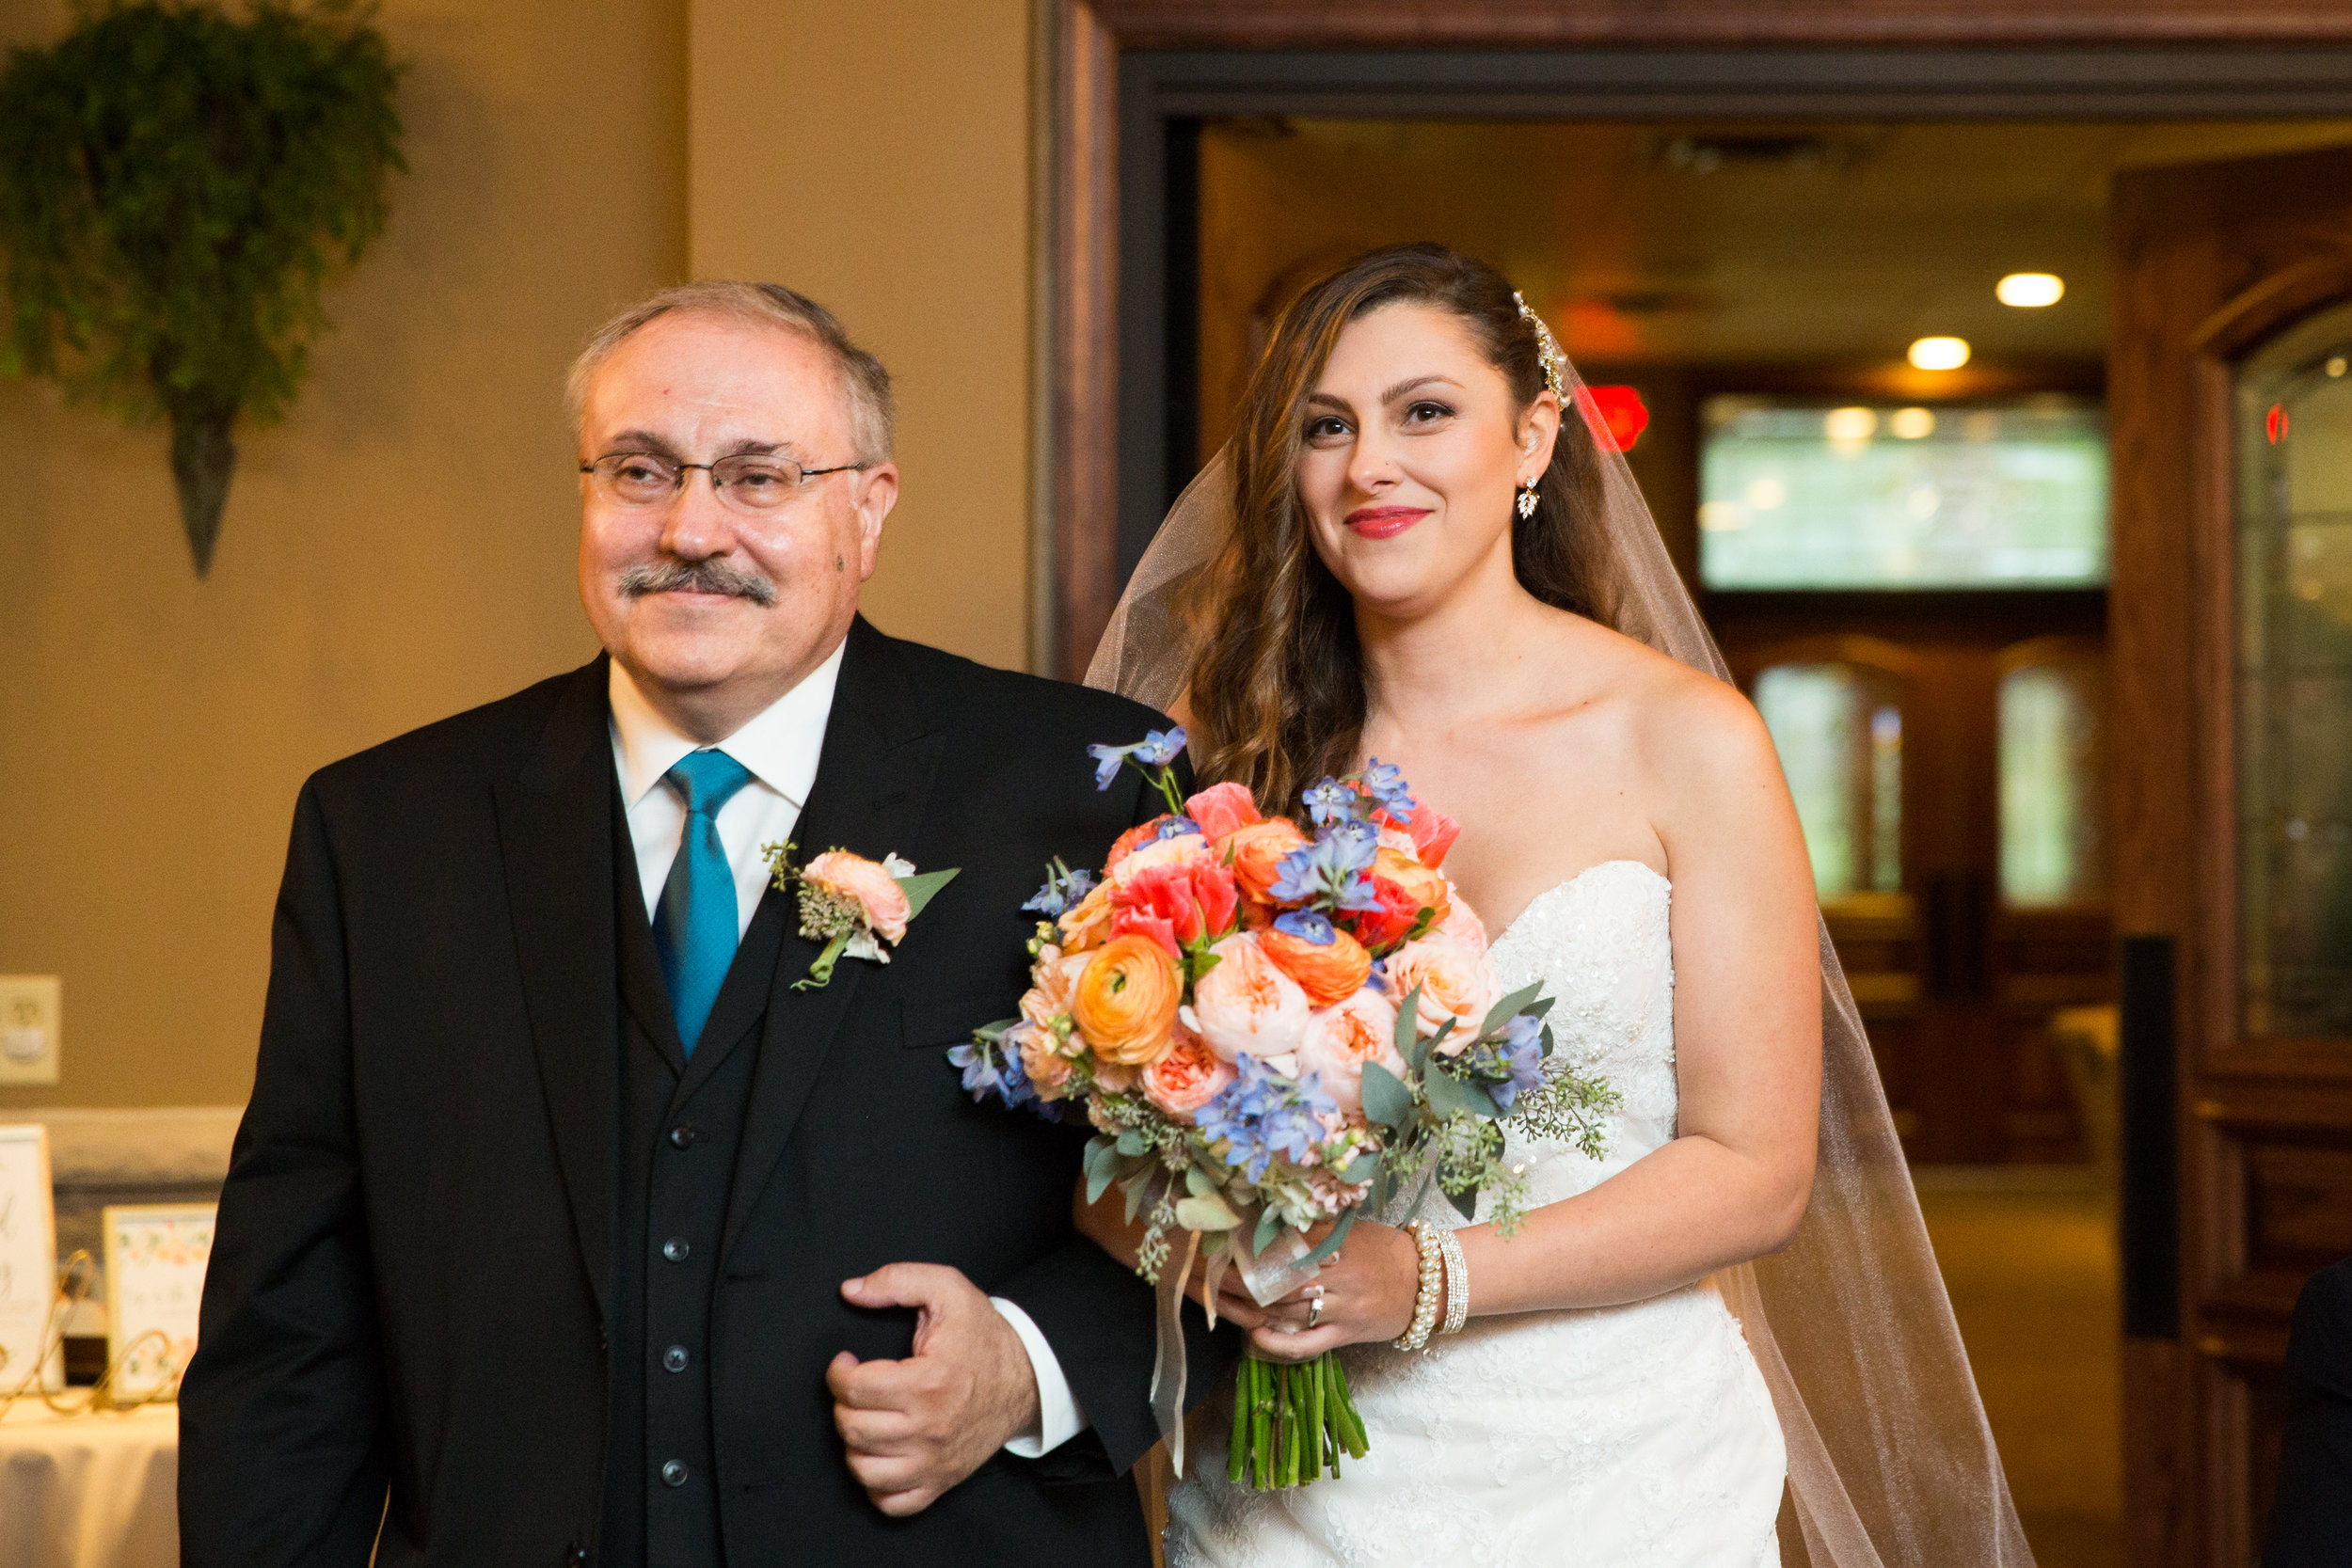
It finally became my turn to enter, and the doors opened. It’s so surreal when this happens. I know I keep saying that word, but it’s the only thing that described it! As I walked towards John, who was full on weeping at this moment, I found it so strange that he was the one crying since I was the one that would cry randomly just thinking about the wedding for the past year.

Cathy&JohnWedding_0344.JPG
Cathy&JohnWedding_0345.JPG

The ceremony was performed by a longtime friend of mine, Sable, and she did an amazing job. It was personalized, sweet, and funny. We decided we wanted a short ceremony and to write our own vows. Unfortunately, we didn’t set the time aside to actually write our vows, so there we were on the day of our wedding, scribbling away. Surprisingly though, our vows came out really good! I definitely operate better under pressure (as my college career filled with all-nighters had shown me) so waiting until the last minute ended up being just fine, although a little bit stressful. 

Cathy&JohnWedding_0362.JPG
Cathy&JohnWedding_0375.JPG
Cathy&JohnWedding_0387.JPG

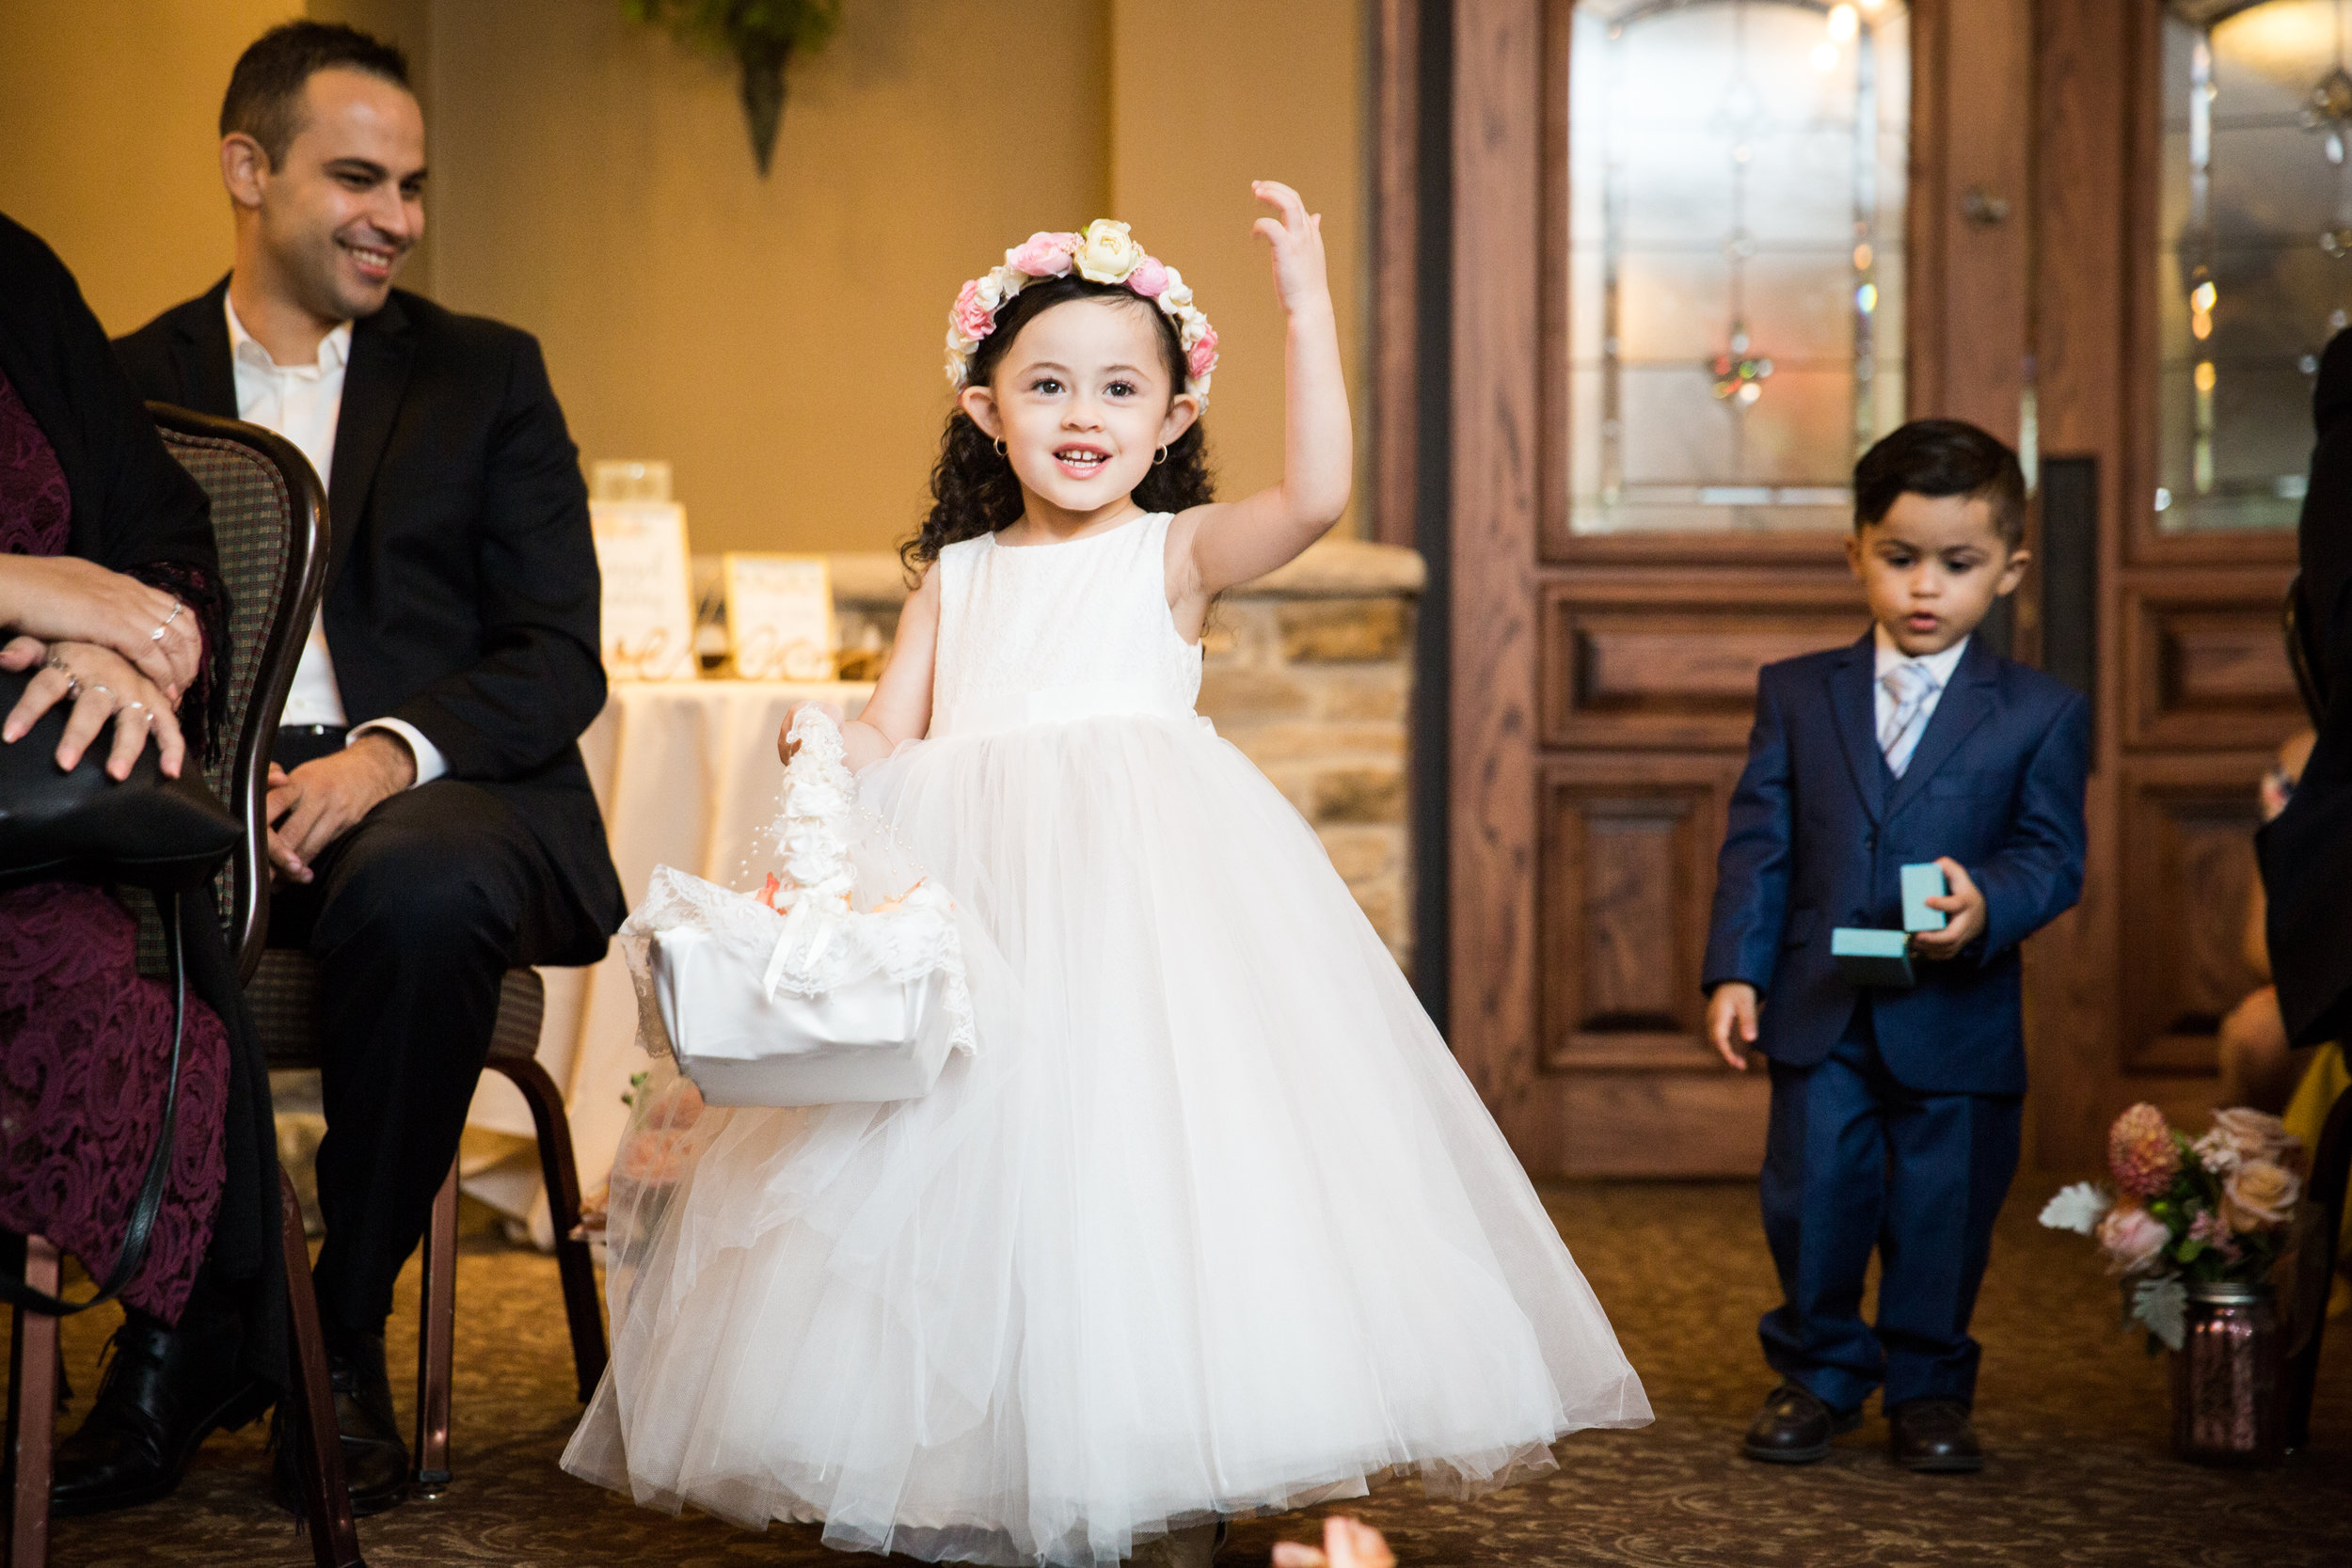
Although weddings are generally pretty serious, there will always be those awkward or funny parts that make it human, real and relatable. For instance, my flower girl decided her moment in the spotlight wasn’t over, and refused to walk down the aisle more quickly. She stole the show and everyone loved her, so I’m 1000% ok with that!

Cathy&JohnWedding_0323.JPG

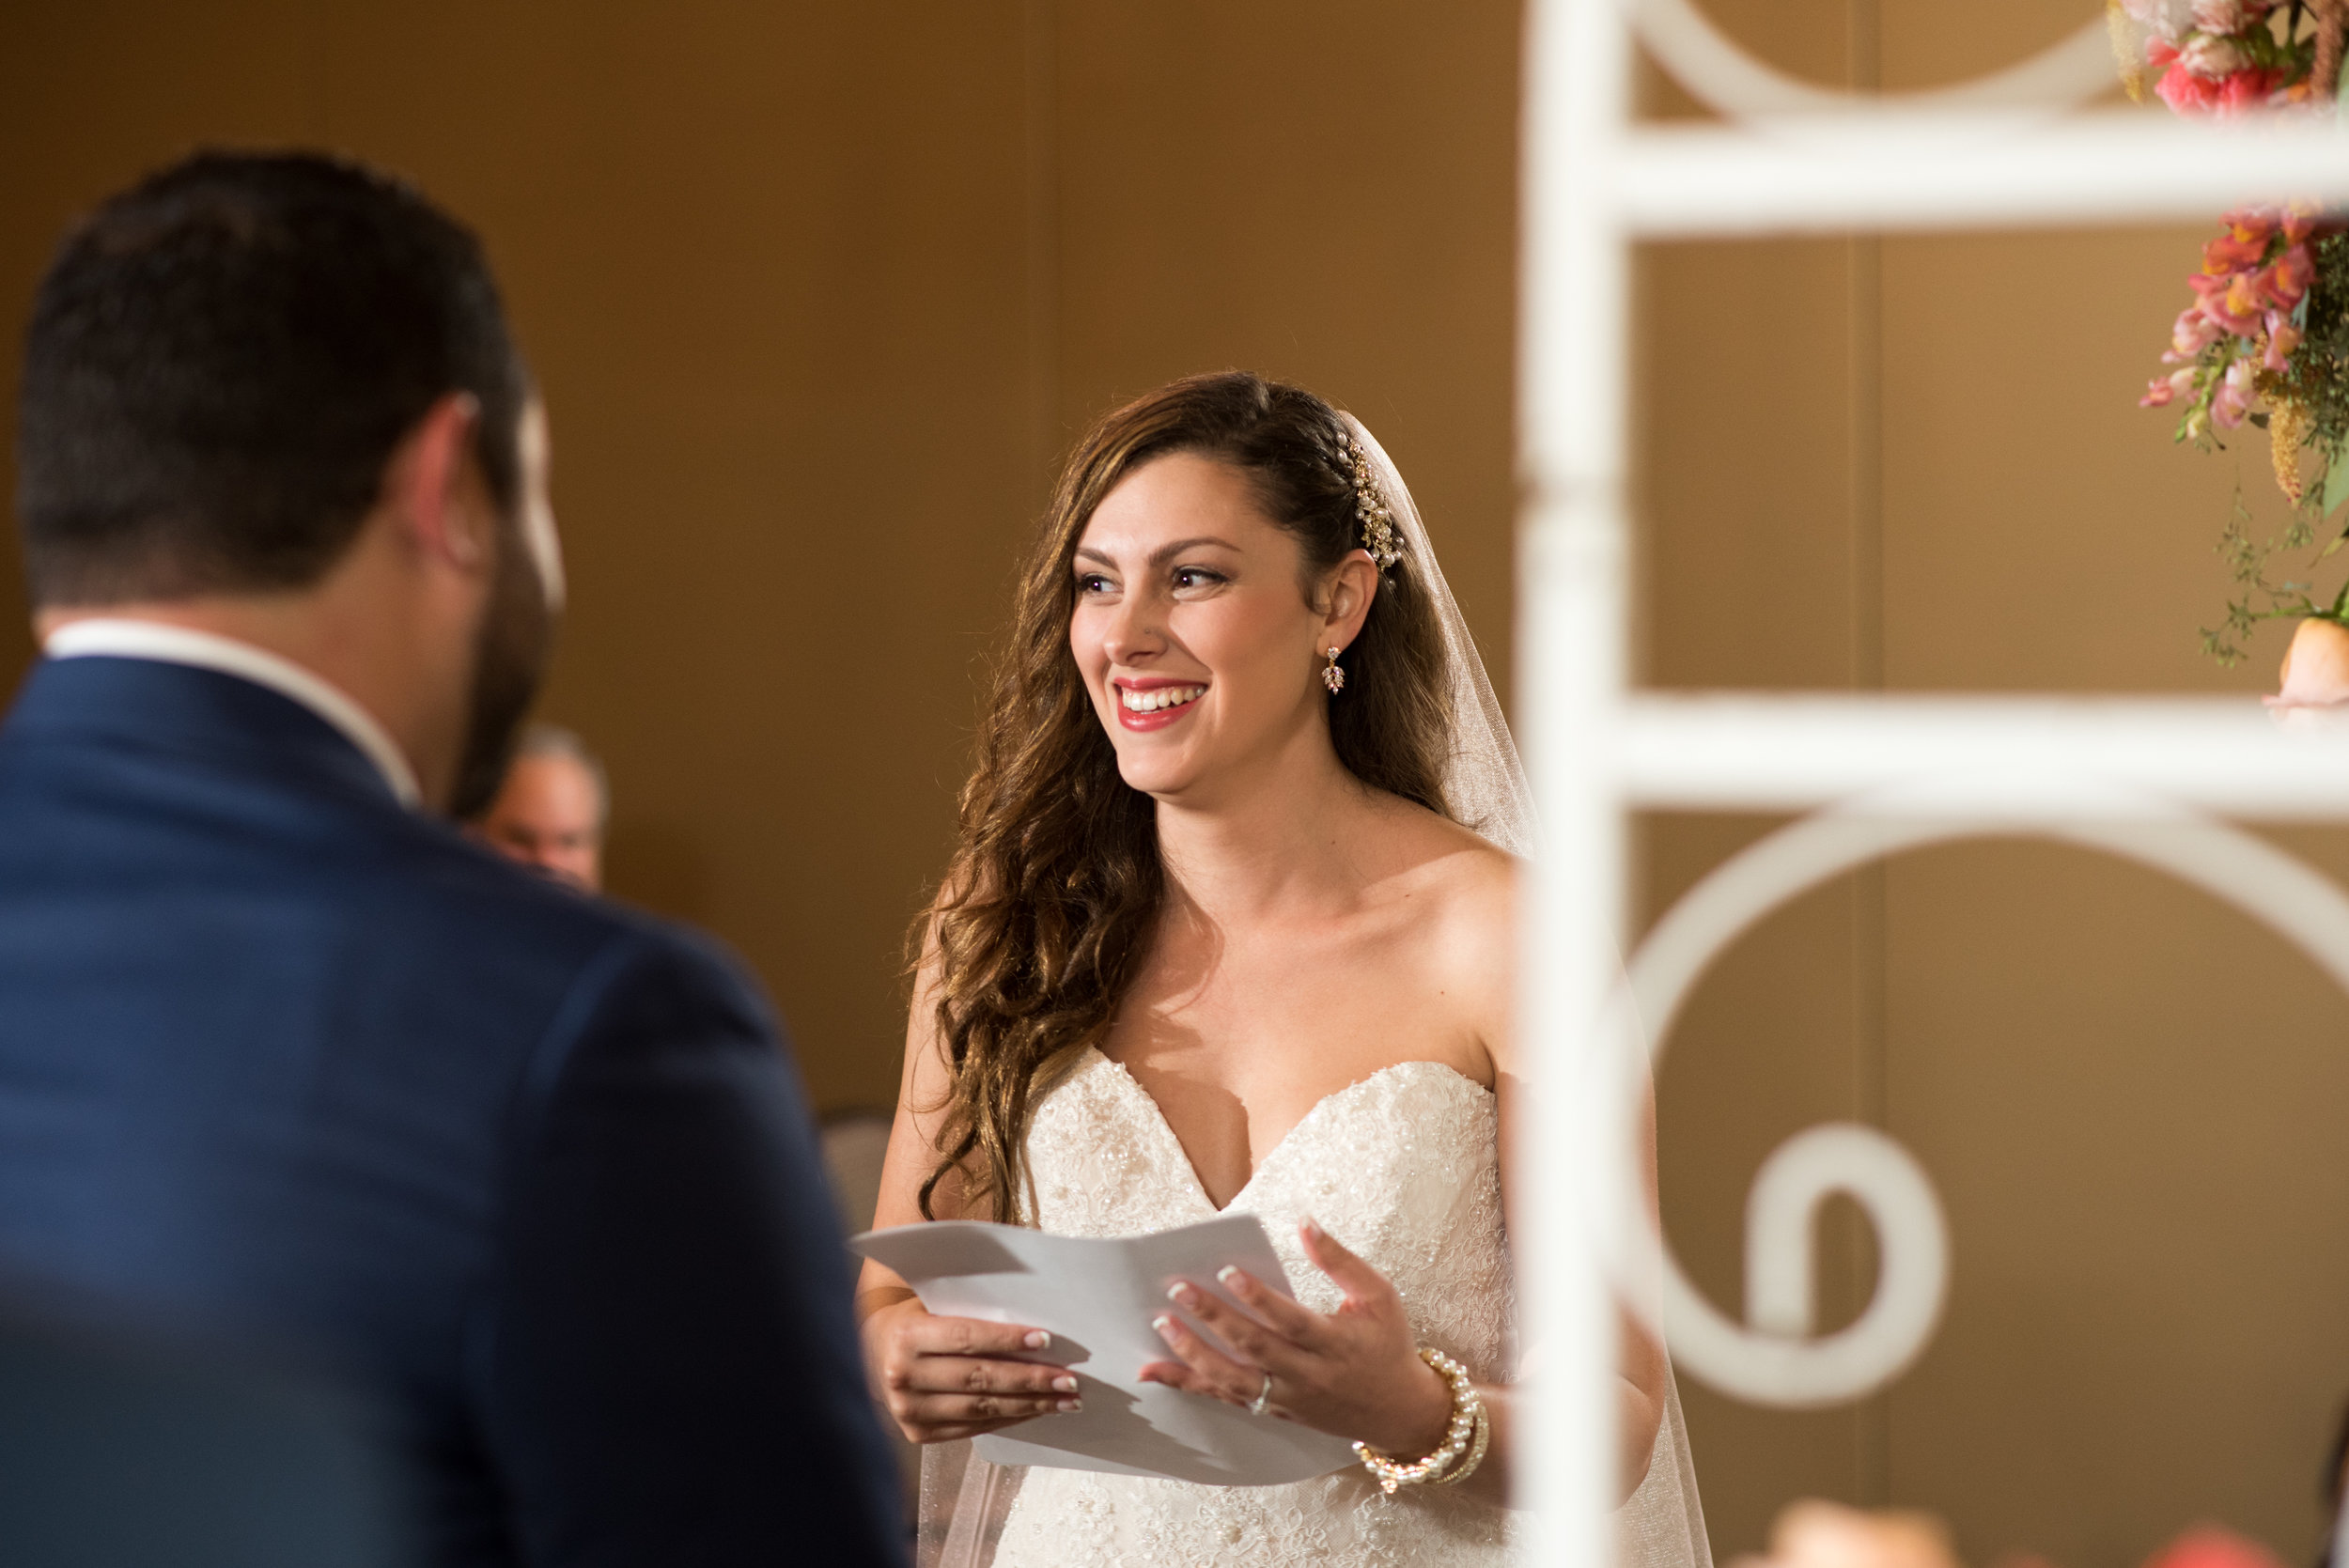
Then, when it came time for the vows, I thought that my officiant had been given my vows along with her speech, which the venue had printed for us. She said it was time for my vows, and I looked at her while she looked at me. Then she looks at me semi-sternly and says ā€œyours vows!ā€, assuming I hadn’t heard her. I look at her, then John who’s waiting patiently, and I say ā€œI don’t have themā€. Everyone gets awkward, like uh oh she didn’t write them! But then the wedding planner for the venue came rushing up the side with the printed vows and we all had a laugh as I jokingly pulled an imaginary piece of paper from the only place I could have hid them, my cleavage. 

Cathy&JohnWedding_0382.JPG

Then, the most ā€œimportantā€ and funniest part of all. In the Greek Orthodox church, after you’ve been married by a priest, the maid of honor comes up and takes these special crowns called stefana, and exchanges them on the bride and grooms heads 3 times. Then, she holds them in place as you take 3 steps around the altar, symbolizing your first steps as man and wife. We did not get married at a church, so I wanted this symbolic walk around the table as man and wife to be included. We practiced it about 10+ times the day before the wedding. I didn’t want it to look awkward. We had the whole thing DOWN and ready to go. Except, we got married inside which was MUCH smaller than outside. And my dress’s train was MUCH longer than any of us (even me!) had anticipated. So there we were, walking single file, with my sister trying to hold her dress, my dress, and the crowns. At one point, John’s brother had to jump in to hold my dress for me as we all circled the table in giggles while everyone laughed along. John had practically left us all behind, and it’s actually one of my favorite memories from the ceremony. It’s a reminder that plan as you will, things can always go wrong!

Cathy&JohnWedding_0402.JPG
Cathy&JohnWedding_0404.JPG
Cathy&JohnWedding_0409.JPG
Cathy&JohnWedding_0412.JPG
Cathy&JohnWedding_0422.JPG

As luck would have it, the rain stopped just after our ceremony (ironic much?) so we were able to go outside for some photos. We did our family photos at the top of the hill, then ventured down towards the lake for ā€œbridal partyā€ photos and our one-on-one session. Although I am still a little bitter that we got rained out of our outdoor ceremony (cue exaggerated fake cry), I am really grateful that we were able to take some gorgeous photos by the lake. It truly was an amazing location to start our life’s journey together.

Cathy&JohnWedding_0439.JPG
outdoor.jpg

Happy International Women's Day!

Happy (day after) International Women’s Day! Today I wanted to spend some time highlighting some of my fave female business owners! There are so so soooo many amazing women out there doing a variety of things, but I wanted to highlight my fave small business/shop owners! These ladies make and curate some amazing content and I felt it was only fair to give them a shout out on this holiday. So, get that credit card ready- you’re gonna want to support these ladies!!

Happy International Women's Day! Today on the blog I'm sharing my favorite colorful shops- all owned by some amazing ladies! Click to see the full list.

1. Ottoman 2. Pillow 3. Sunglasses 4. Clutch 5. Unicorn Pin 6. Necklace

6a00d8341c6a0853ef01b7c94821b2970b-800wi.png

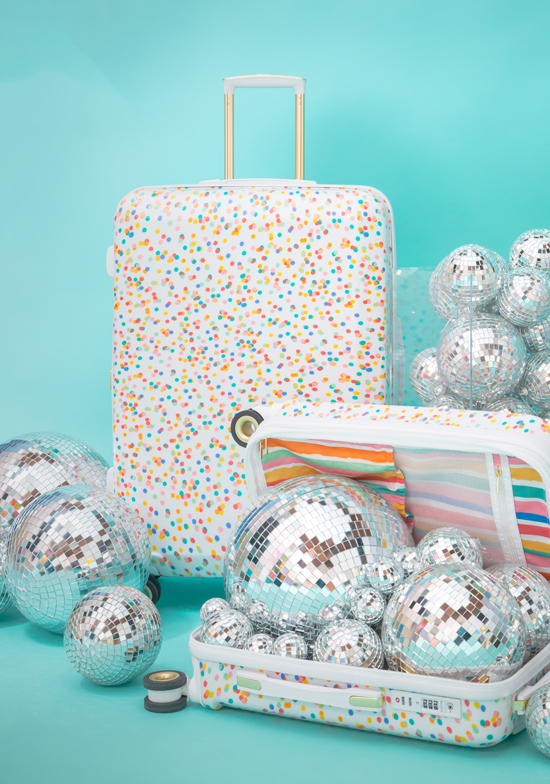
Joy/ OhJoy!- I’ve loved Joy’s items from the very first time I saw them at Target. I’ve probably wanted every single piece! She’s now also got an awesome shop chock full of goodies, a furniture line, luggage (!!) as well as a Cheeky collection at Target! 

Veronica/Sharptooth Snail -Veronica is a personal friend of mine that I met online through a class I took! Aside from being the most amazingly helpful person, she’s got an awesome geeky-cool shop filled with pins, resin figurines, and T-shirts. Oh, and did you know her work was used by NASA?!? Pretty freakin amazing! 

Kelly/Studio DIY- Kelly’s shop is filled with all kids of colorful, happy items! There’s so much to choose from, but my favorite has to be her Can’t Clutch This subscription! As a kid, I never had enough money for monthly subscription boxes, so this totally makes my day every time it arrives! 

Confetti_Pillow_-_High_Res_1080x.jpg

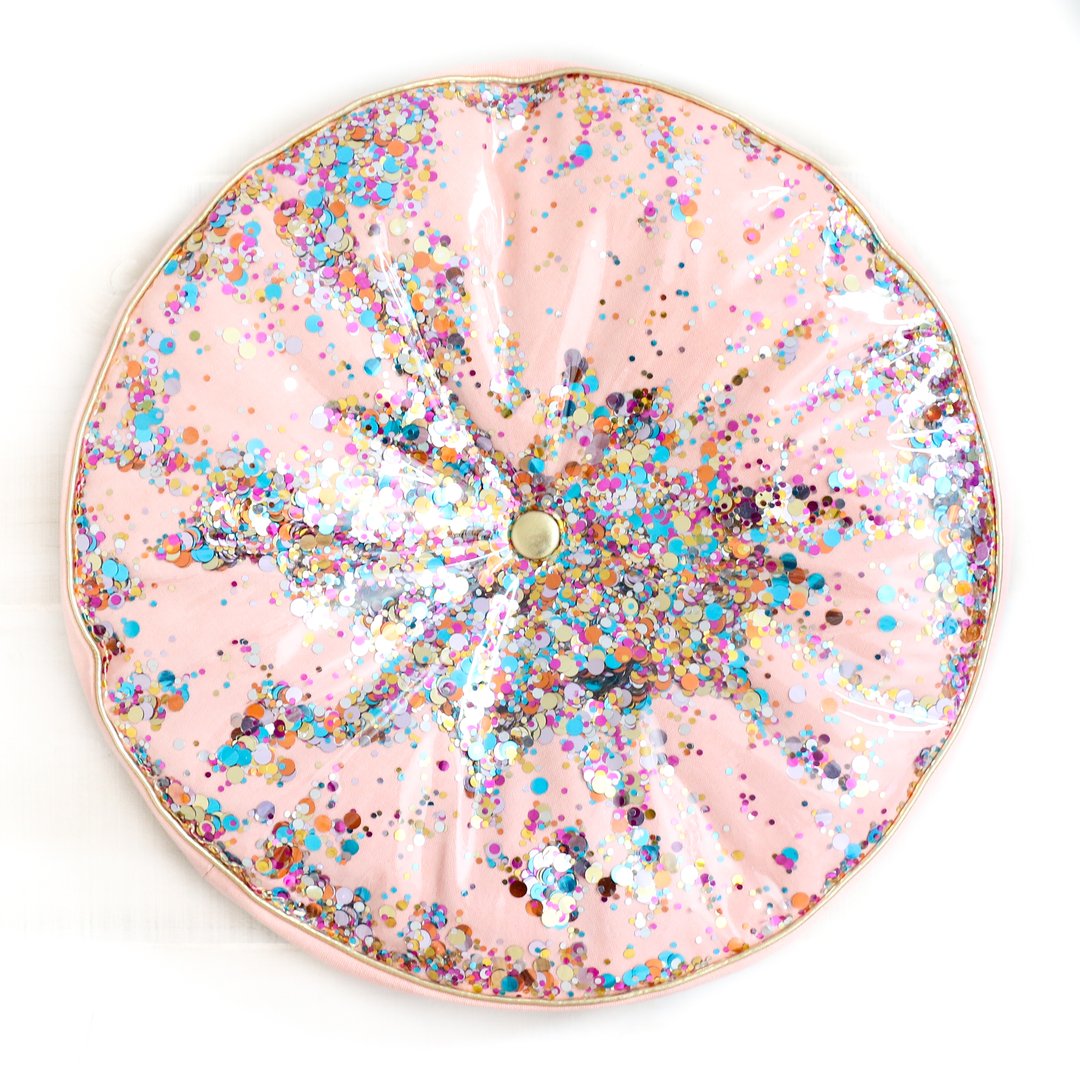
Kara/Kailo Chic -Kara had got to be one of the busiest little bees I’ve ever seen! She’s always releasing new blog content, along with both handmade and designed items. I love everything she does, and I’m personally in awe of how she gets it all done so quickly! If you’re into confetti housewares and colorful throw pillows (who isn’t...?) you’ve got to visit her shop!

Ashley/Sugar & Cloth- Aside from her cutest creation, little baby Gwen, Ashley launched a gorgeous collection with Amazon!! If that’s not goals, I’m not sure what is! Some of her items sold out immediately and I’m not surprised- they’re gorgeous! 

Caren/Caren Kinne Artwork- Caren’s abstract, colorful paintings are the perfect addition to any space that needs a little excitement! Her fun figures are often based on real people, and to me they’re reminiscent of the Little Miss Sunshine- type books from when I was a kid. If artwork isn’t your think (who are you?!) Caren also offers her paintings on tote bags, etc. 

il_570xN.1195028342_62h0.jpg

Jenni & Leah/Love & Lion- Taking temporary tattoos to. Whole new (adult) level! I love all their amazing designs and they even do custom tattoos too!  

Natalie/Cultivate Love LA- Natalie’s Smart and Pretty Club obliterated the idea that a woman has to be either/or. Her shop is filled with books and it’s only growing! Stop by to grab your next read or my personal fave, this pin! 

Marisa/The Neon Tea Party- I met this sweet little lady at a NYC meetup with Jeff and Kelly of StudioDIY. I actually thought she was someone else but my opening line to her was ā€œdo you make jewelry?!ā€ Interestingly enough, she did! I really love her fun Pom Pom arts but if you’re itching to learn, she teaches classes in NYC too! 

lip-gloss-poms.jpg

Emma & Elsie/ABM & Oui Fresh- ok, what don’t these girls do? They’ve got their Oui Fresh Shop, happy mail, natural makeup and essential oils line, cookbooks, an app!! 

Mary/Uncustomary Love- despite the fact that she’s a child of the rainbow, Mary spouts positivity in all the best ways! From a stuffed animal slumber party to sending snail mail, her  shop is full of quirky and amazing things you can’t find anywhere else. One of her best offerings has to be her body positivity course! In a world where we are taught to hate our bodies, it’s so important to give it some love. 

Amber/Dixie and Twine- from banners with all the trendiest sayings to adorable confetti, Amber’s ship has everything you need to make your party hip! Plus, you gotta love her amazing product photography!

FullSizeRender-6.jpg

Abbey/Daily Disco- If ever there was something that seemed like a fun hobby-turned-career, this is it! Abbey’s chainstitch embroidery is colorful, cool, and coveted! She does amazing custom jackets for brides, moms, kids... it’s adorable! She also sells patches that you can add to any item you want. 

Jess/The Knit Knack Shop- my husband has known Jess’ husband since elementary school, so I have the pleasure of knowing her in person! She’s a teacher by day, crochet-er by night. My favorite things from her shop have to be her little cactus plants! I kill every plant I get, so having something that can’t die seems perfect! She’s also a huge Harry Potter fan and makes all sorts of adorable amigurumi animals, characters and monsters. 

Cathy/PartyHarDIY- Yep, that's me! I opened my shop in December 2017 and it's filled with colorful statement jewelry and fun keychains! And, I have big plans to expand it this year. You can save 17% off with the code MARCH17 until St. Paddy's Day!

There you have it! Some of my very favorite shops from my fave biz babes out there on the interwebs. Who are your favorite female-owned businesses? Let me know in the comments below!

DIY Painted Notebook

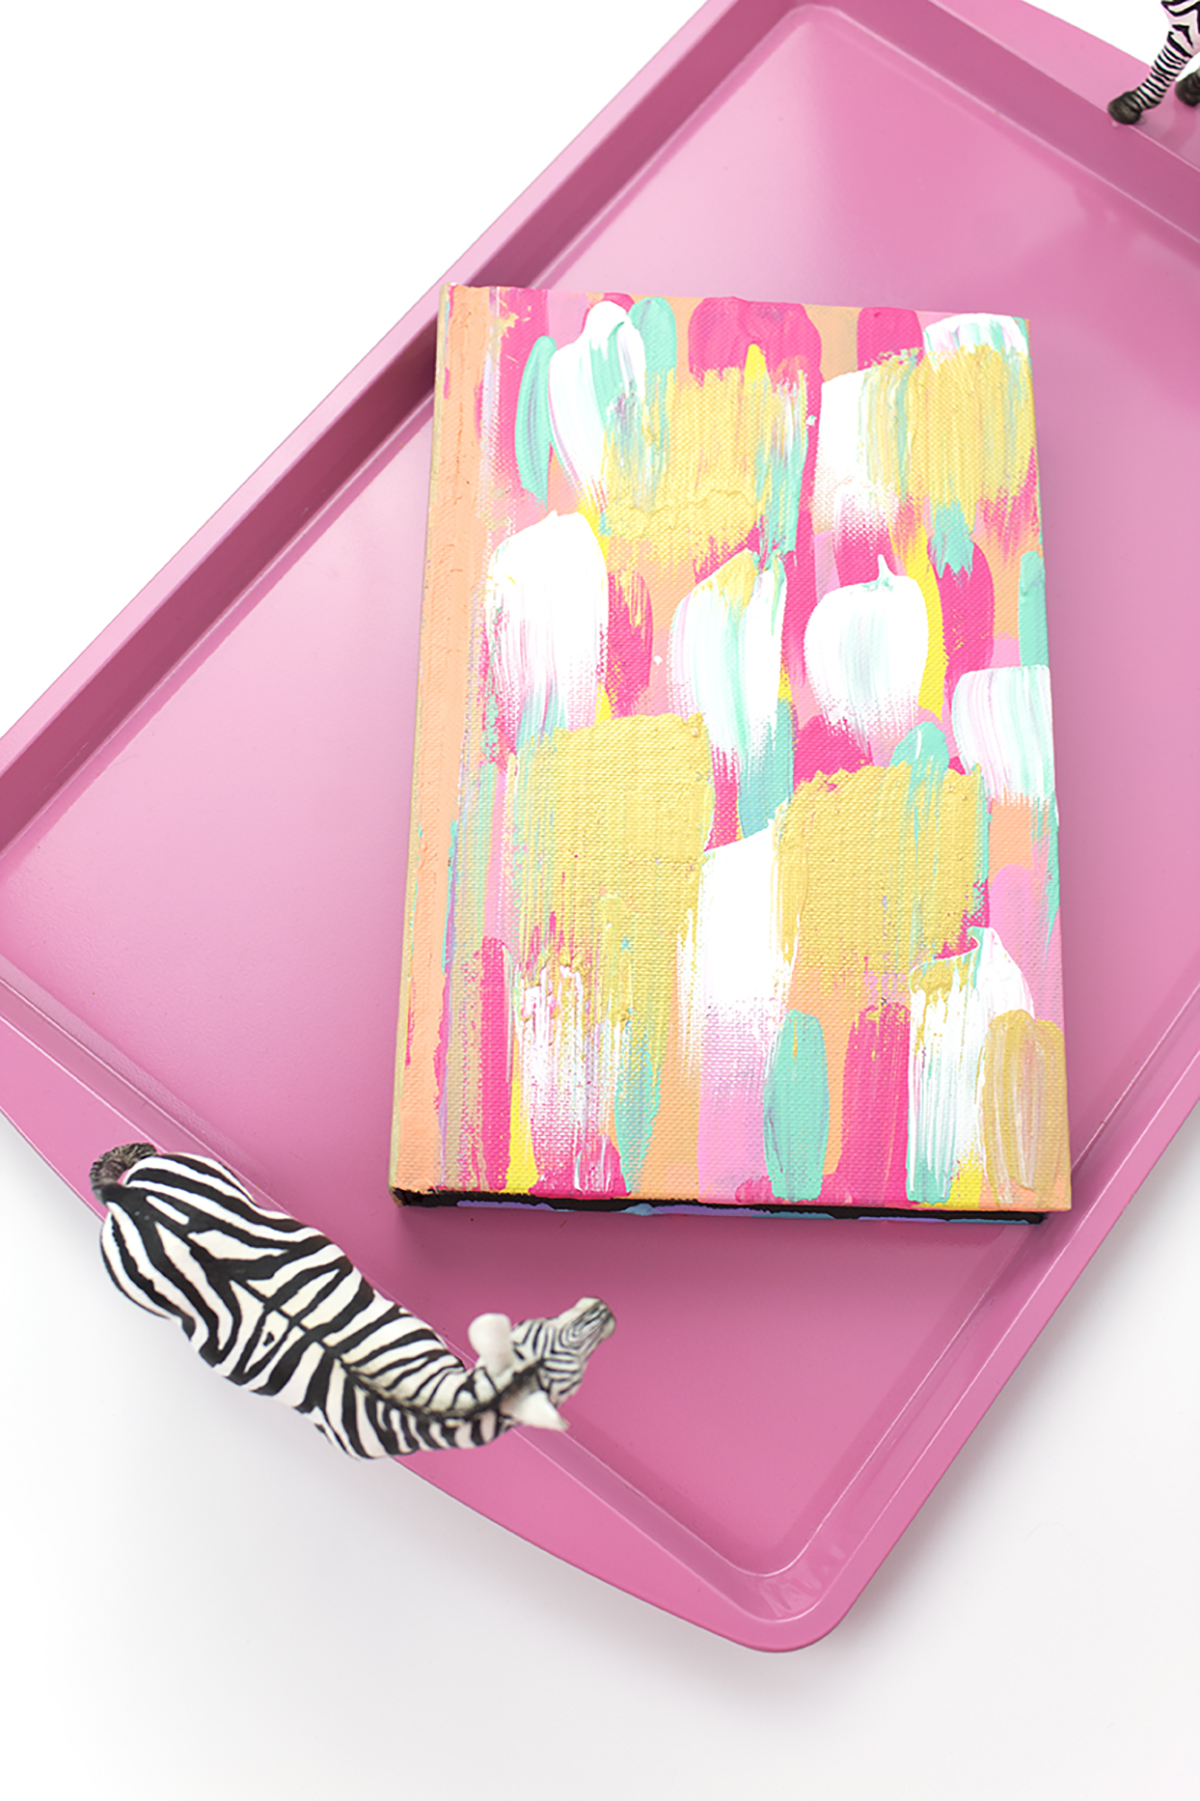
This weekend I went to Michael’s to grab a few items for upcoming projects, and I had a sketch book on my list. I realized that I didn’t really have anywhere that I could keep all my project ideas together, so I usually scribbled on a sheet of white paper that ended up who-knows-where when it came time to actually create the project. One of my New Year’s Resolutions is to be more organized, so I knew I had to take care of this! However, when I went to Michael’s I didn’t love the selection of sketchbooks available. I grabbed this one because it was the most affordable at $5, and figured if it couldn’t be cute, at least it was cheap. WELL… while creating another paint project, I realized that this notebook (with its canvas-like surface!) was wishing for a new look. Lo and behold- here it is! I love this sketchbook now, and I can’t wait to use it for my project sketches, room upgrades, and any ideas that pop into my head! Best of all, it’s so easy and cheap to make with products you probably have on hand!

Give your ho-hum notebook a new look with just a coat of paint! Add a metallic accent and you're golden! Click for the DIY.

Ā 

You will need:

Notebook (from Michael’s, or here)
Paints (similar here)
Metallic gold paint (here)
Brushes (similar here)
Newspaper or similar to cover workspace

Give your ho-hum notebook a new look with just a coat of paint! Add a metallic accent and you're golden! Click for the DIY.

Ā 

  1. Open your notebook to the center and place it pages-down on your workspace. Paint on thick strips with your first paint color. I wanted to do a rainbow palette, so I decided to do half the rainbow on one side, and the other half of the colors on the other side.
  2. Paint your whole notebook cover as much as you can, and let dry just a little. I thought it looked kinda mehhh without a pop of color, so I went back and took 1 color from each side to add a jolt to each side. 
  3. Using your white paint, add some thick stripes to your notebook cover. I found that the white ended up with a cool rainbow effect, so I used it to paint the spine.
  4. Add your pop of gold to the notebook and spine if you’d like. Let dry fully, then go back and do any necessary touch-up.

You can spray it with a finishing spray to seal it, or just be careful with it. You can also get a small pouch for it so it doesn’t chip paint everywhere.

Give your ho-hum notebook a new look with just a coat of paint! Add a metallic accent and you're golden! Click for the DIY.

Related: DIY No Sew Embellished T-Shirt

I'm really loving this sketchbook now! It's so cheery and fancy. It really encourages me to create more, and I love taking a sketch break to think up new ideas, spruce up a room, or just brainstorm! How will you use your notebook? Let me know in the comments below!