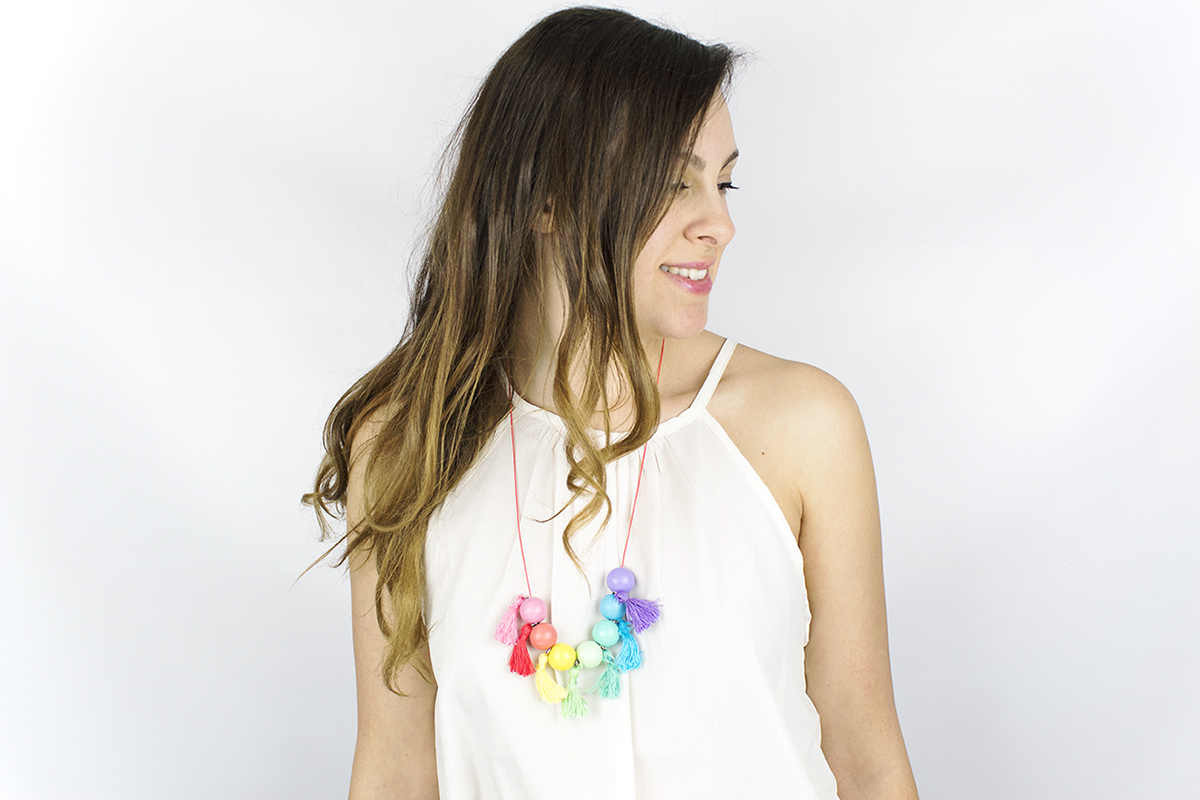
DIY Wood Bead Tassel Necklace
/Happy March! Wow, I can't believe it's nearly spring already and St. Patrick's day is next week! St. Patrick's Day was always one of my favorite holidays for some reason. I like almost all of them, but I think it's something about how everyone goes crazy and gets all dresses up that makes me like St. Patrick's Day a lot. Instead of doing a traditional St. Patrick's Day craft, I decided to switch it up a little with a pastel rainbow necklace. My fiancé is a quarter Irish, and he said St. Patrick's Day does not involve rainbows. However, there's no way to find a pot of gold without a rainbow. So, at least in the Hallmark version of the holiday, there's definitely rainbows! If you want to add a little bit of celebration to your St. Patrick's Day outfit this year without looking like you belong in a parade, try wearing this necklace! Honestly, it works well all year round and I think it's perfect for the spring!


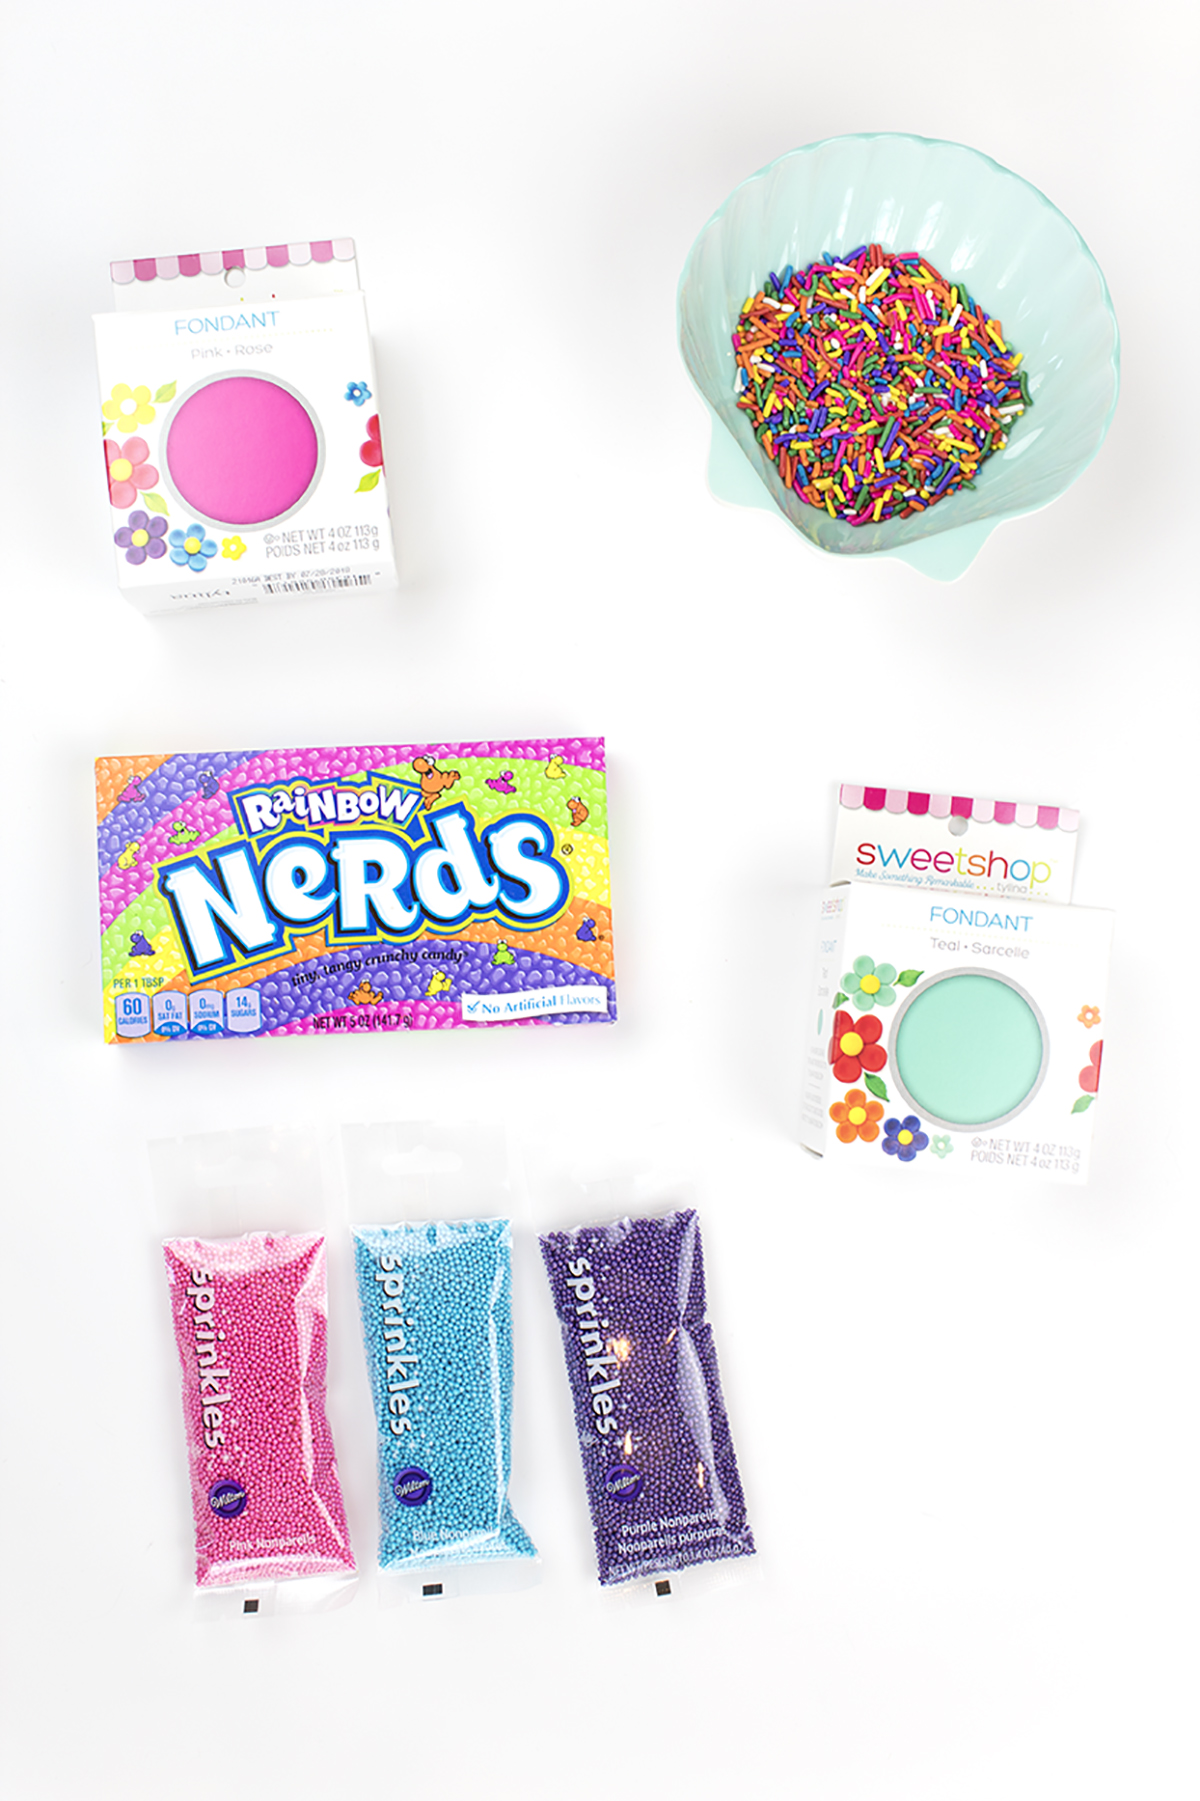
You Will Need:


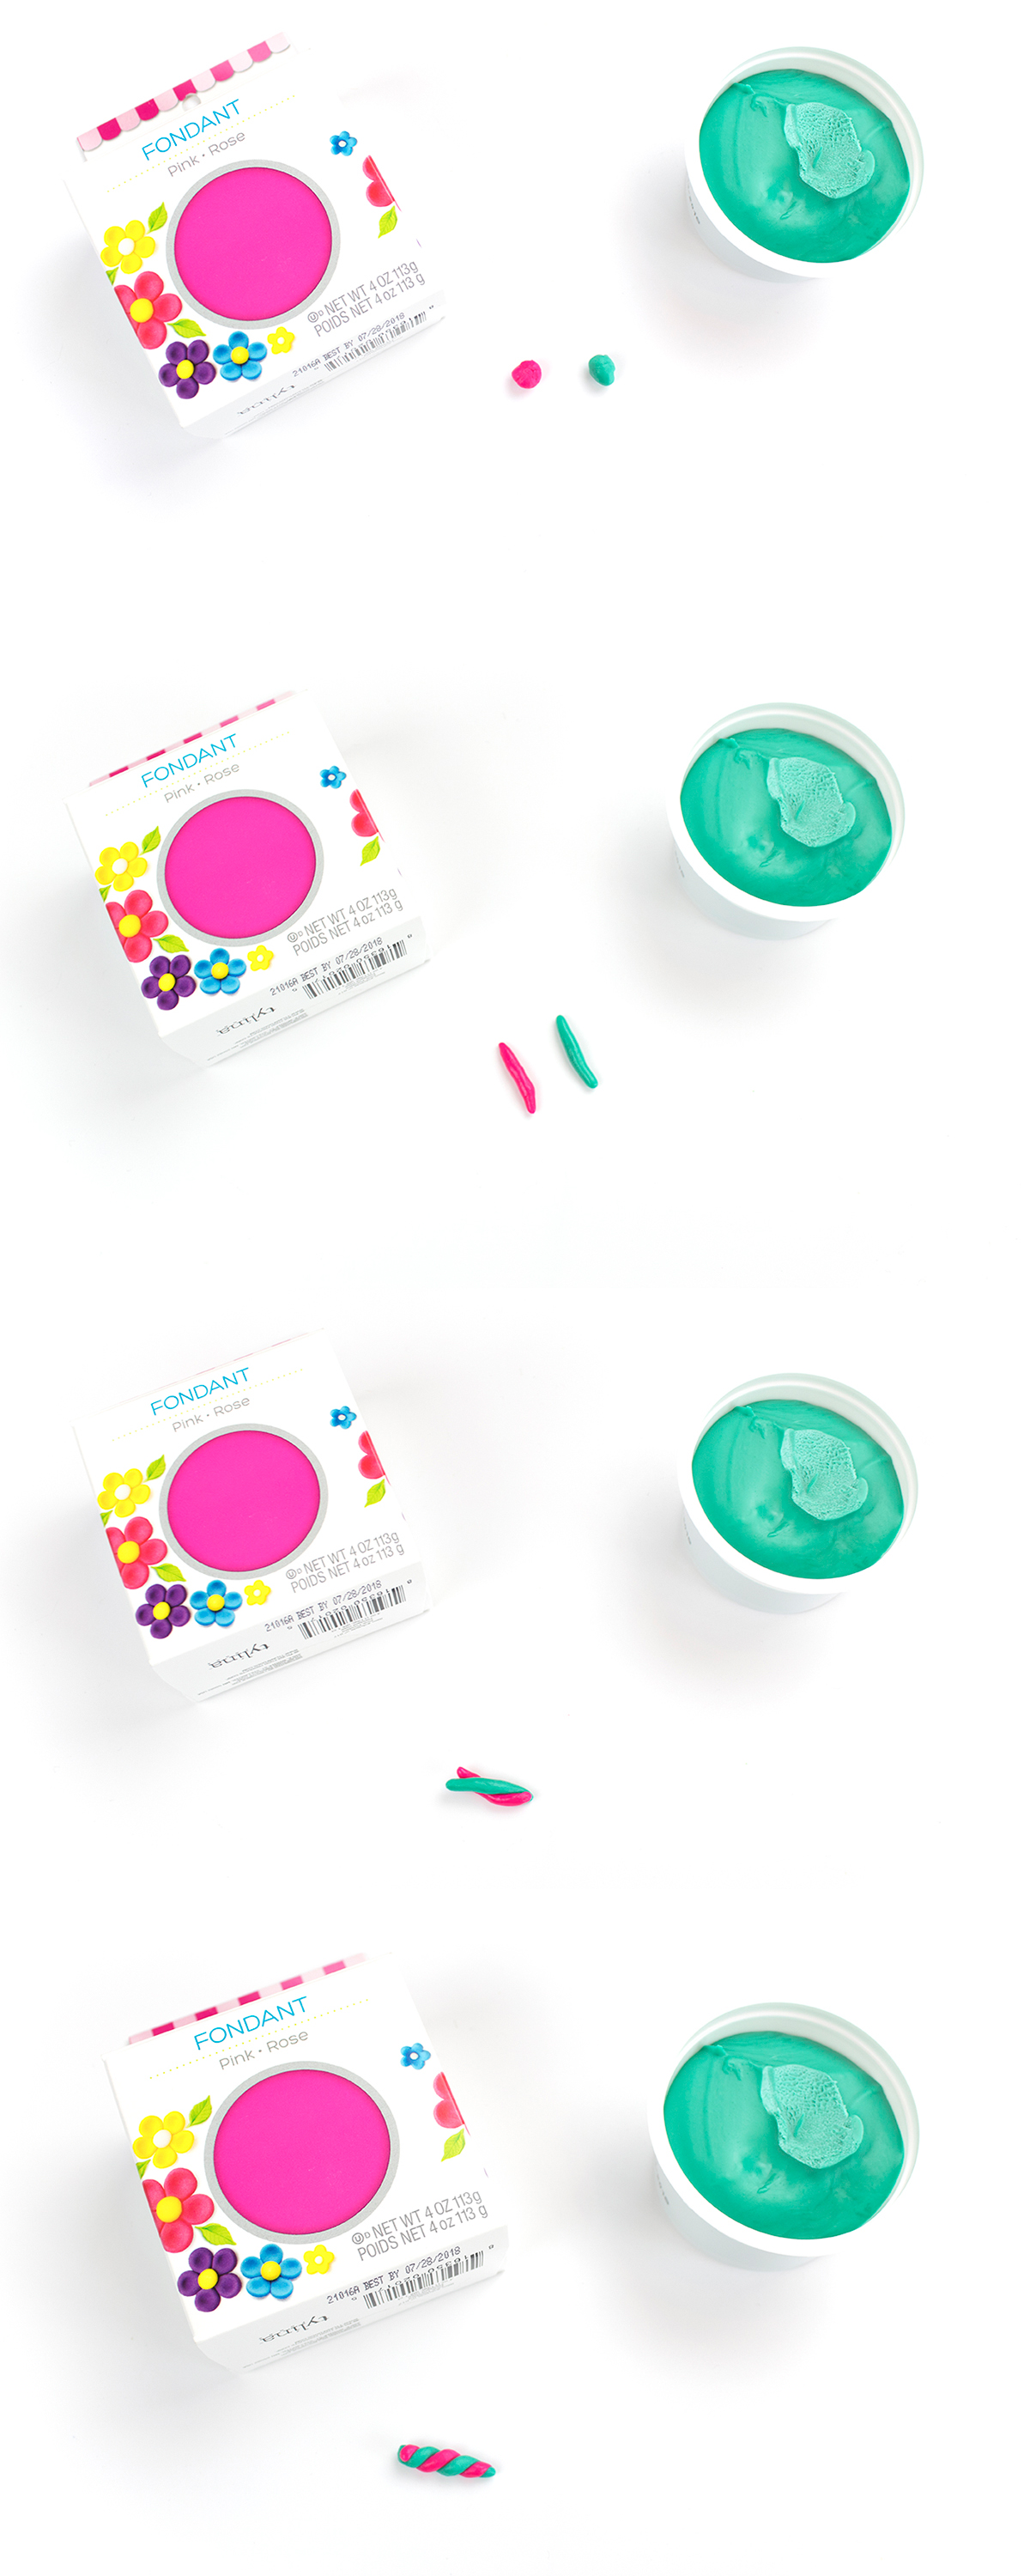
1. Take your skewer and wrap it in washi tape. You'll want enough so that the beads won't slide down as you're painting. Put your beads on and paint them. I used bright rainbow colors. Put your skewer into some styrofoam to dry. While you wait...

2. Cut a piece of cardboard that is the size you want your finished tassels to be. I wanted mine to be around the same size as my beads, so I used that as a template. Wrap the embroidery floss around the cardboard 25 times. You can do less or more, depending on how thick or thin you want your tassels to be. Cut a small piece of floss, thread it through the underside of the top, and tie a few tight knots.

3. Slide the floss off the cardboard and onto a pencil or stir stick. Take a piece of embroidery floss and wrap it around just below the stick. Tie several knots, then cut your embroidery floss. Then, take a jump ring and thread it through the top piece of embroidery floss. Comb your tassel to loosen the weave of the embroidery floss and create and fluffy tassel.

(Psst. if you want to save time and buy your tassels, check out this link).

5. Attach your clasp to one crimp, and your jump ring to another crimp, and attach them to your cord. I wanted my necklace to be long, but be warned- I made mine WAY too long. With the clasps on, it came down to about my belly button! Haha. So, I added a few clasps along the way so I could adjust the length if I wanted to.


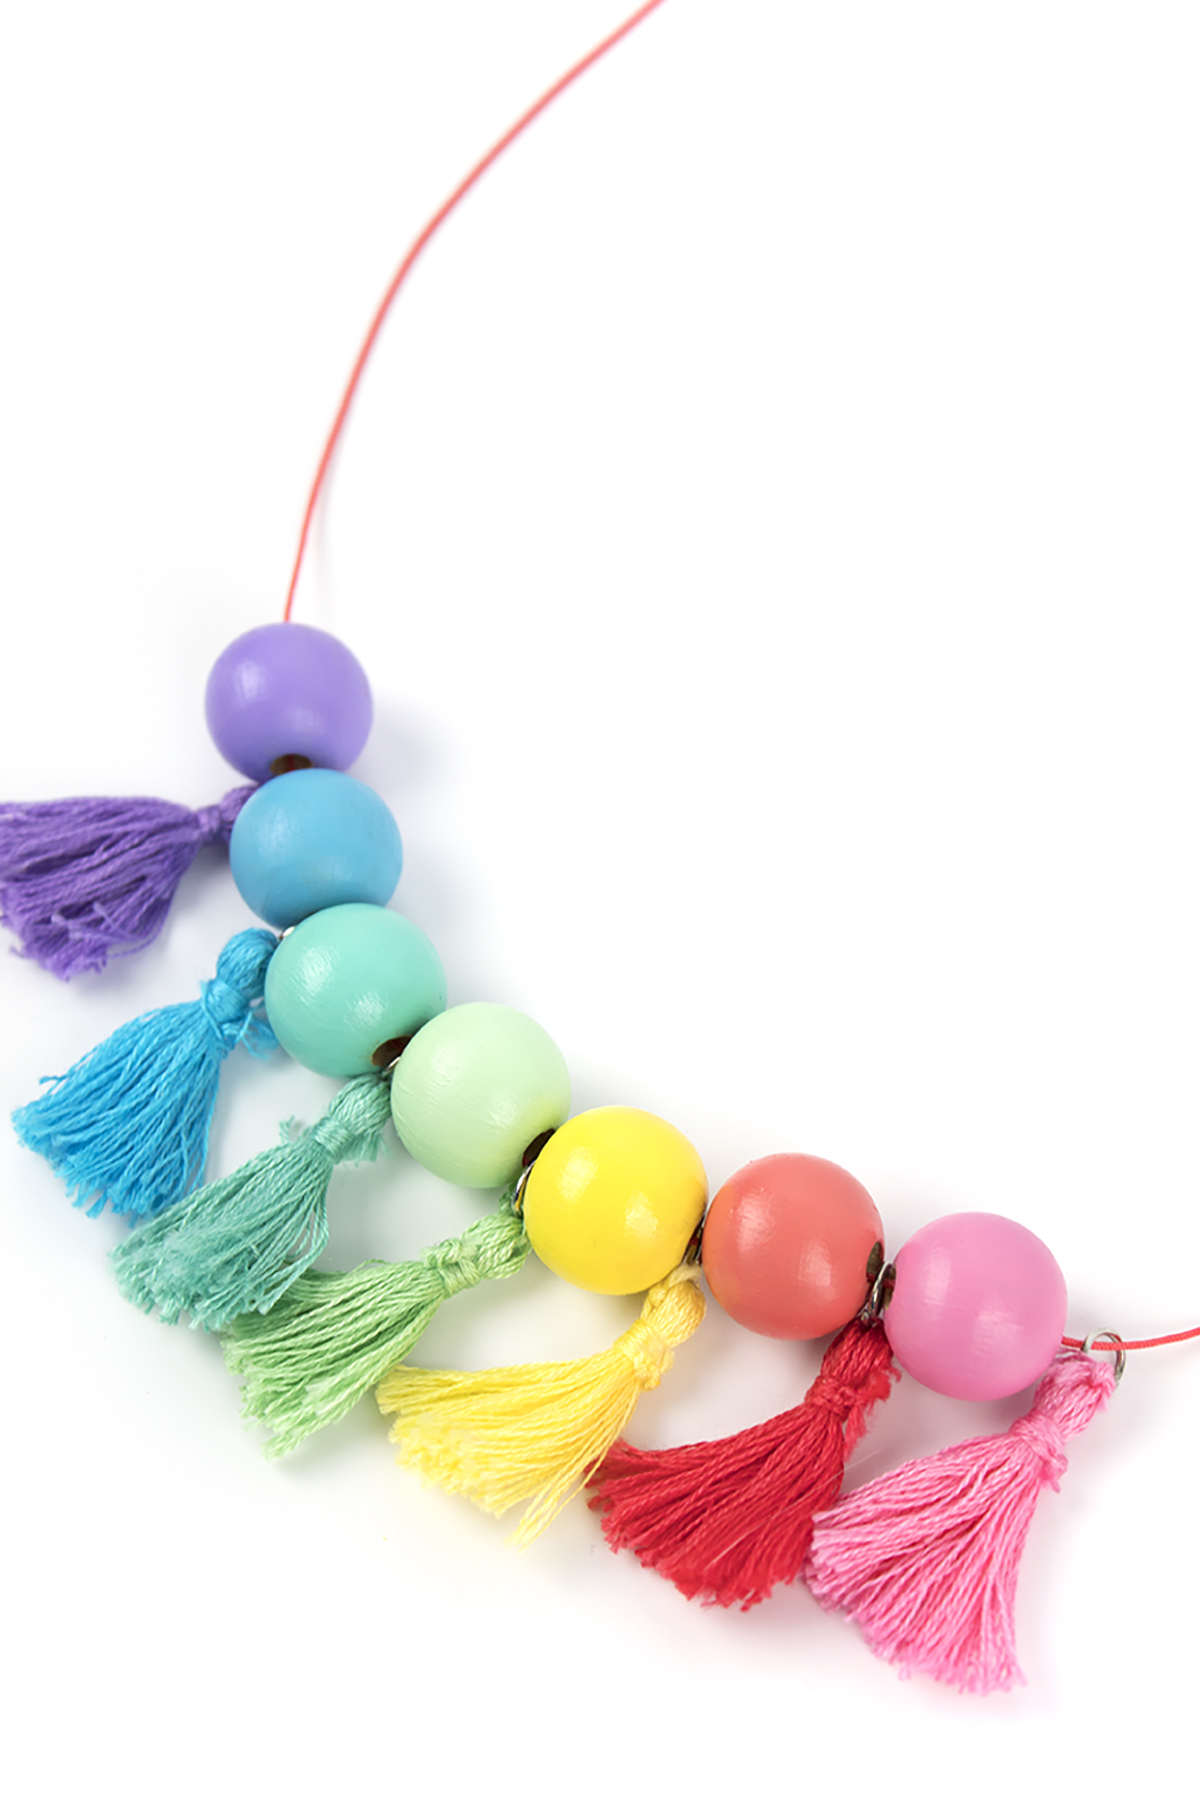
6. Thread your beads and tassels. I decided to use a coordinating bead and tassel combo, but you can also mix it up.


7. Wear and enjoy! I've gotten so many compliments on this necklace the few times I've worn it so far. I truly love it! If you want to add a fun pop of color to your outfit, this necklace is essential.


Oh, did you know I have not one, but THREE cats? This is Roger and he's probably the friendliest cat on the planet. I found him in my backyard in Astoria and decided to keep him. He's the coolest, funniest dude.


I love love loveeeeee this necklace. The pastel rainbow colors are just magical! Would you wear a necklace like this? What do you think of it? Let me know in the comments below!