Helping The Border Crisis With Dreamy Baby Photography
/I’m interrupting the regularly scheduled blog programming to share a special message. Without going into too much detail, since I’m sure all our hearts have had enough, the crisis at the border was weighing on me heavily yesterday. I can’t fathom a situation so horrible that I’d risk my life AND my child’s life so dangerously in the hopes that things would get better. That’s a privilege I am lucky to have. Others are not so lucky. We should not be punishing these people. We should be trying to find ways to help. I hope that if I was ever so desperate to save my child, that things would finally start to look up for me on the other side.
Instead, these people are met with force and punished, their children taken away from them and not given proper care. There are young children taking care of babies. There are kids without access to nutritional food, clean clothes, a toothbrush or even soap! The list of atrocities seems to keep growing, but I think the fact that children are dying in these conditions should be setting off major alarms for people. This is not ok. None of this ok.
There isn’t much I can currently do to help, and so I thought about ways in which I could help, even in a minor way.
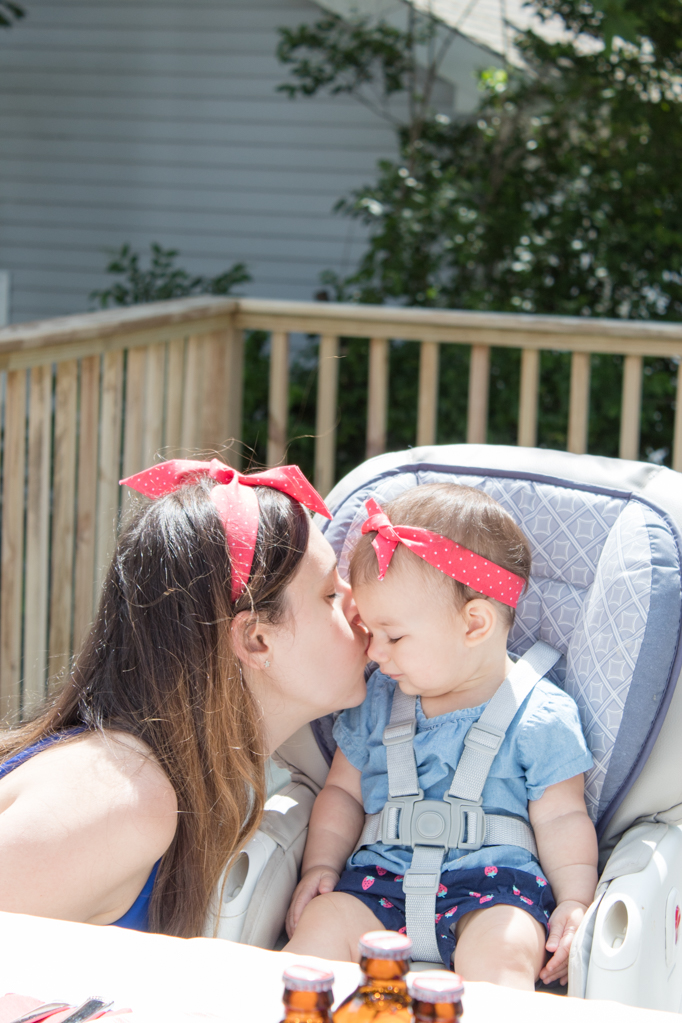
From today until July 4, I’ll be donating $20 from each sale of my Dreamy Baby Photography course to RAICES. By enrolling, you’ll not only be able to learn to take photos of your own baby, but be able to help a mother reunite with hers. That’s a donation of over 50% of the proceeds. I created this course with the dream of helping mothers. By donating, together we’ll be able to help the mothers that need it the most.
By purchasing the course, you’ll be making a $20 donation to help the crisis at the border. To purchase the course, visit this link. If you don’t have a baby but still want to help, you can forward the link to someone that does or share it on social media. If you have the means and want to donate directly to RAICES, click here. I donated $10 last night, but I felt like I wanted to do more. Alternatively, you can donate to Together Rising, who says “Every penny we receive from your personal donation goes to people in need” by clicking here. I saw that most of their donations were only small amounts like $5 but they still managed to raise 2 million dollars!
Disclaimer: Because the donation will be made ASAP, any course refunds during this period will only be for the value of the course minus the donation. The usual donation to March of Dimes will be placed on hold until after July 4.
Loving your child is universal. It knows no race, religion, or bounds. I’m sure many of us would risk our own lives to save our children, doing anything we could to help them. So please, imagine the torture these families are going through. Parents don’t know where their children are. Children are abandoned and alone, dirty, hungry and crying. We need to help them however we can. Please donate now to help these families in need.