Easy Football Party Crafts

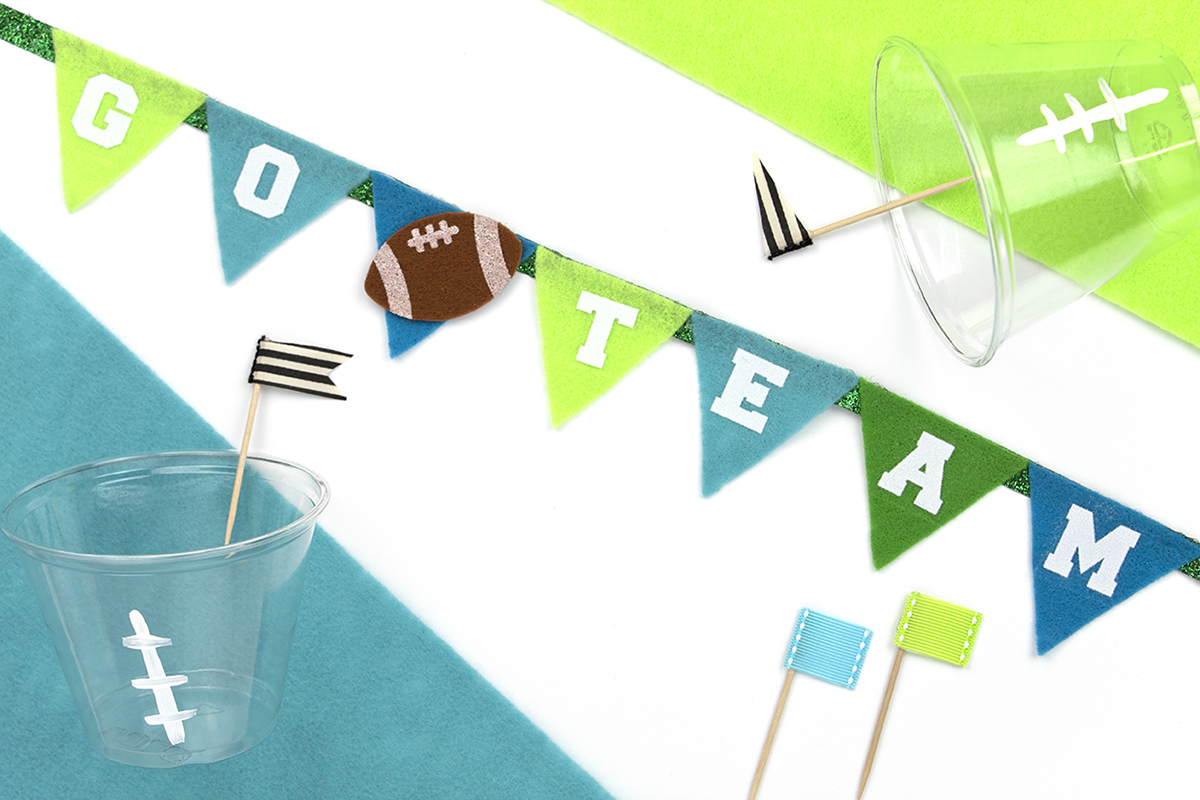
Is it football season yet? I only know the fall for pumpkin picking, apple cider everything, and the ability to totally switch up my wardrobe. However, I know there's a whoooole bunch of people that love it for football! My fiancΓ© is one of those people, so once in a while we hang out with the gang and watch a football game. He's a "less is more" type of guy, and I'm a "what else can we add?" type of gal, so I came up with a happy medium. 

Is it football season yet? I whipped up these easy crafts for your next football gathering. They're quick to make, and feature craft supplies you probably have at home. They're perfect for a mini football party! Click for the DIY.

I whipped up these easy crafts for Mariah at Giggles Galore. They're quick to make, and feature craft supplies you probably have at home. They're perfect for a mini football party. This month, I did not one, but TWO blog posts for her! You can find them here and here.

Is it football season yet? I whipped up these easy crafts for your next football gathering. They're quick to make, and feature craft supplies you probably have at home. They're perfect for a mini football party! Click for the DIY.

So be sure to head over to Giggles Galore now to see how to make these Easy Football Party Crafts and Football Flag Stirrers and Cups.

Pom Pom Pet Collar

One of my very favorite things to do is to dress up my pet. Something about seeing my adorable furbaby all dolled up in something equally adorable is enough to make me squee with delight. The problem is that I have cats, and they usually are not a fan of dressing up. It usually results in faces like this. However, these pom pom collars are so cute, even cats can't help but love them! They're easy to make and fun to wear, so grab your pom-pom maker and your yarn. We're about to get crafty!

These pom pom collars are so cute, even cats can't help but love them! They're easy to make and fun to wear, so grab your pom-pom maker and your yarn. We're about to get crafty! #catcrafts #dogcrafts #pompomcrafts

You will need:

These pom pom collars are so cute, even cats can't help but love them! They're easy to make and fun to wear, so grab your pom-pom maker and your yarn. We're about to get crafty!

Cat or Dog Collar (here and here)

Yarn in rainbow colors (here)

Pom Pom makers (here)

Scissors

A cutie-pie pet


Directions:

Using your Pom Pom maker, create 3 Pom poms in your choice of colors. I used the two smallest ones, because my cats are pretty small. Depending on the size of your pet and the width of the collar, you may need larger Pom poms or more of them. Make sure you leave a string long enough to tie them onto the collar.  

Pom Pom Instructions:  

These pom pom collars are so cute, even cats can't help but love them! They're easy to make and fun to wear, so grab your pom-pom maker and your yarn. We're about to get crafty! Click for the full DIY.

1. Take your Pom Pom maker and open one of the sides. It doesn't matter which one.

2. Starting in the center, wrap your yarn around the curve, making sure to keep it even. Keep going until it's nice and full. The more yarn you put, the fluffier the Pom Pom.  If you cheap out, you'll know! 

While you're wrapping around, make sure it only goes on the loop, not the bottom "feet". You don't want it to have weird loose ends. See the photo below for what NOT to do :p

These pom pom collars are so cute, even cats can't help but love them! They're easy to make and fun to wear, so grab your pom-pom maker and your yarn. We're about to get crafty!

3. Once it's nice and full, cut your yarn when at the top of the loop and fold the side in. Repeat for the other side.  

4. When both sides of your pom pom maker are filled, you want to cut each side in half. Don't fret- it's got a special groove for this to make sure you do it evenly! Cut through all the layers right at the center.

5. After you've cut your pom pom in half, you'll notice a groove down the center of the pom pom maker. Take a small piece of yarn and guide it through the middle of the pom pom maker.  I used purple so you can see it better, but for my other pom poms I wanted the yarn to match the pom pom. Pull it tight so that it goes through the center- this is what holds your pom pom together! Tie a knot, then wrap it back through to the other side and tie another knot or two.

Open the two loop arms (the blue part), then pull the two sides apart at the center (the white part) to release your pom pom.

These pom pom collars are so cute, even cats can't help but love them! They're easy to make and fun to wear, so grab your pom-pom maker and your yarn. We're about to get crafty!

6. Trim the ends so that everything is even and your Pom Pom is nice and round and fluffy.  

These pom pom collars are so cute, even cats can't help but love them! They're easy to make and fun to wear, so grab your pom-pom maker and your yarn. We're about to get crafty! #catcrafts #dogcrafts #pompomcrafts

7. Tie the Pom poms onto the collar. You can also glue them, but if your pet is rambunctious they might be able to pry it off more easily.

These pom pom collars are so cute, even cats can't help but love them! They're easy to make and fun to wear, so grab your pom-pom maker and your yarn. We're about to get crafty!

Put it on your pet and enjoy! Take loads of photos. Be sure to only put this on your pet when you're there to supervise, since they may be able to take it apart like they're diffusing a bomb. You know how pets can be sometimes!

These pom pom collars are so cute, even cats can't help but love them! They're easy to make and fun to wear, so grab your pom-pom maker and your yarn. We're about to get crafty! #catcrafts #dogcrafts #pompomcrafts

Annie (the black cat) surprisingly didn't mind wearing this collar. She's usually the feisty one!I think this photo is my favorite, because LOOK AT THAT SNAGGLETOOTH!

These pom pom collars are so cute, even cats can't help but love them! They're easy to make and fun to wear, so grab your pom-pom maker and your yarn. We're about to get crafty! #catcrafts #dogcrafts #pompomcrafts

Roger, on the other hand, who is the most chill cat ever, somehow wasn't a fan of being dressed up that day. He doesn't hesitate to let you know that too. Here's his best "I'll pose for you human, but only because you feed me" face.

These pom pom collars are so cute, even cats can't help but love them! They're easy to make and fun to wear, so grab your pom-pom maker and your yarn. We're about to get crafty! #catcrafts #dogcrafts #pompomcrafts

How cute do these little kittens look in their fancy new collars?! Ok, I know they're not kittens... but they're so darn adorable! What do you think about these collars? Will you be trying them on your cat, dog, guinea pig? Let me know in the comments below!

DIY Fruit Slice Container

Ohhh hey summer babes! Can you believe it's Mid-August?! Summer is coming to an end, and I'm a little bit bummed. It went by really quickly (as summers usually do) but it was fun, despite being so busy with wedding planning! Ever since I was a kid, summer always held a special place in my heart. One of my favorite things about summer is enjoying a sweet, juicy piece of fruit on a hot day. Bonus points if it was in the fridge! Since I had some time to create one last summer craft, I decided to pay homage to my love of fruit by creating this fruit slice container. It's perfect for storing all your little knick-knacks, like rings, hair ties, or even fortune cookie fortunes!

One of my favorite things about summer is enjoying a sweet, juicy piece of fruit on a hot day. Since I had some time to create one last summer craft, I decided to pay homage to my love of fruit by creating this fruit slice container. It's perfect fo…

You can find everything you need to make these containers (and more!) at Oriental Trading. They're one of my favorite places to shop online, since they have everything you need for weddings and for craft projects! So invite your besties over for a craft day, and let's have some fun!

One of my favorite things about summer is enjoying a sweet, juicy piece of fruit on a hot day. Since I had some time to create one last summer craft, I decided to pay homage to my love of fruit by creating this fruit slice container. It's perfect fo…

You will need:

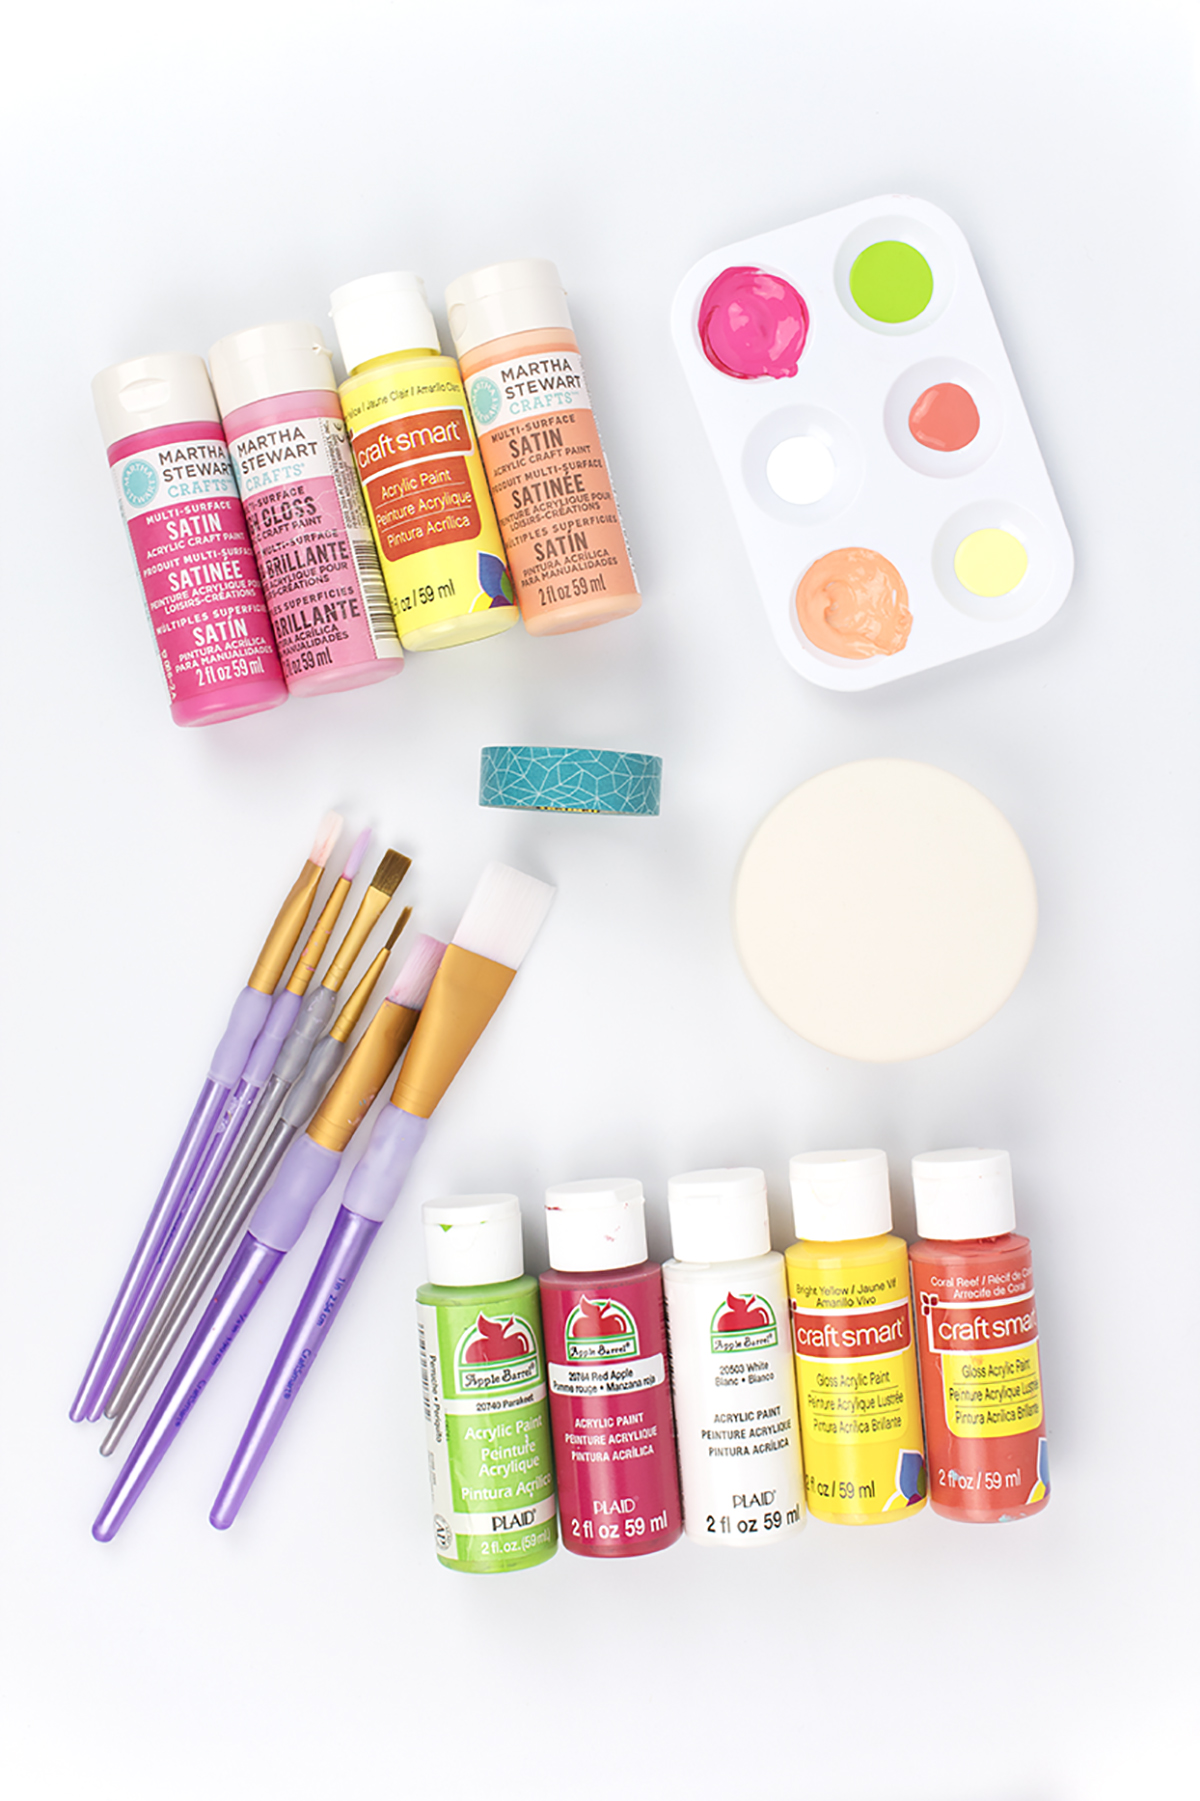
Acrylic Paint (here)
Paintbrushes (here)
Paint Palette (here)
Washi Tape (here)
Round Ceramic Container (here)
Mod Podge (here)
Colorful Sharpies (here)

One of my favorite things about summer is enjoying a sweet, juicy piece of fruit on a hot day. Since I had some time to create one last summer craft, I decided to pay homage to my love of fruit by creating this fruit slice container. It's perfect fo…


For the Citrus Slices:

  1. Paint your lid and the inside of your container white.

  2. Using your stickers and tape, create a spoke pattern with a circle in the middle.

  3. Paint your exposed sections in your choice of color.

  4. Paint the rest of the container (the bottom) to match the peel.

  5. Remove the tape and add a rim for the rind.

  6. Paint with mod podge to prevent scratches.

  7. Write a funny note in the container.

One of my favorite things about summer is enjoying a sweet, juicy piece of fruit on a hot day. Since I had some time to create one last summer craft, I decided to pay homage to my love of fruit by creating this fruit slice container. It's perfect fo…

For the Watermelon Slices:

One of my favorite things about summer is enjoying a sweet, juicy piece of fruit on a hot day. Since I had some time to create one last summer craft, I decided to pay homage to my love of fruit by creating this fruit slice container. It's perfect fo…


  1. Paint the top reddish-pink and the inside white.

  2. Add a green rim around the red top to create the rind.

  3. Paint the rest of the container (the bottom) green.

  4. Add seeds using paint and a thin paint brush.

  5. Write a funny note in the container.

One of my favorite things about summer is enjoying a sweet, juicy piece of fruit on a hot day. Since I had some time to create one last summer craft, I decided to pay homage to my love of fruit by creating this fruit slice container. It's perfect fo…

Yay summer! I'm such a hoarder of small containers. I have them everywhere, and sometimes I have smaller containers within larger containers. I think I'm an addict. 

What do you keep in your little containers? Let me know in the comments below!

DIY Watermelon Napkins

Hey guys! I am so excited to announce that I am now a contributor on Giggles Galore! For those of you that haven't heard about Giggles Galore, it's a blog that focuses on making the ordinary EXTRAORDINARY one creative idea at a time. There, you will find holiday crafts, DIY projects, recipes and party tips. Most of the projects can be recreated in less than an hour, and on a budget, so you have more time to create memorable occasions filled with giggles galore. Sounds like a perfect place for me to be!

Summer is Hot-Hot-Hot. It’s filled with BBQ's, picnics, and backyard parties. Oh, and watermelon. Loooots of watermelon! How about adding a pop of color and whimsy to your tables with these awesome watermelon napkins. Click for the DIY! #watermelon …

My first project? DIY Watermelon Napkins! Besides watermelon being the absolute best summer fruit, August 3 is National Watermelon Day. I foresee a whooooole lot of watermelon flavored drinks being consumed that day! And everyone will need some of these napkins to go along with them. In case you haven't noticed, I'm a sucker for a theme.

Summer is Hot-Hot-Hot. It’s filled with BBQ's, picnics, and backyard parties. Oh, and watermelon. Loooots of watermelon! How about adding a pop of color and whimsy to your tables with these awesome watermelon napkins. Click for the DIY! #watermelon …

For the full tutorial, as well as some tips on using RIT dye, head over to Giggles Galore! You can find the post here. Be sure to show Mariah some love by leaving comments and following her on instagram so you never miss a post!

Summer is Hot-Hot-Hot. It’s filled with BBQ's, picnics, and backyard parties. Oh, and watermelon. Loooots of watermelon! How about adding a pop of color and whimsy to your tables with these awesome watermelon napkins. Click for the DIY! #watermelon …

Will these napkins be making their debut at your next BBQ? I think they should- they're one in a MELON. Get it?! 

DIY Pineapple Summer Shoes

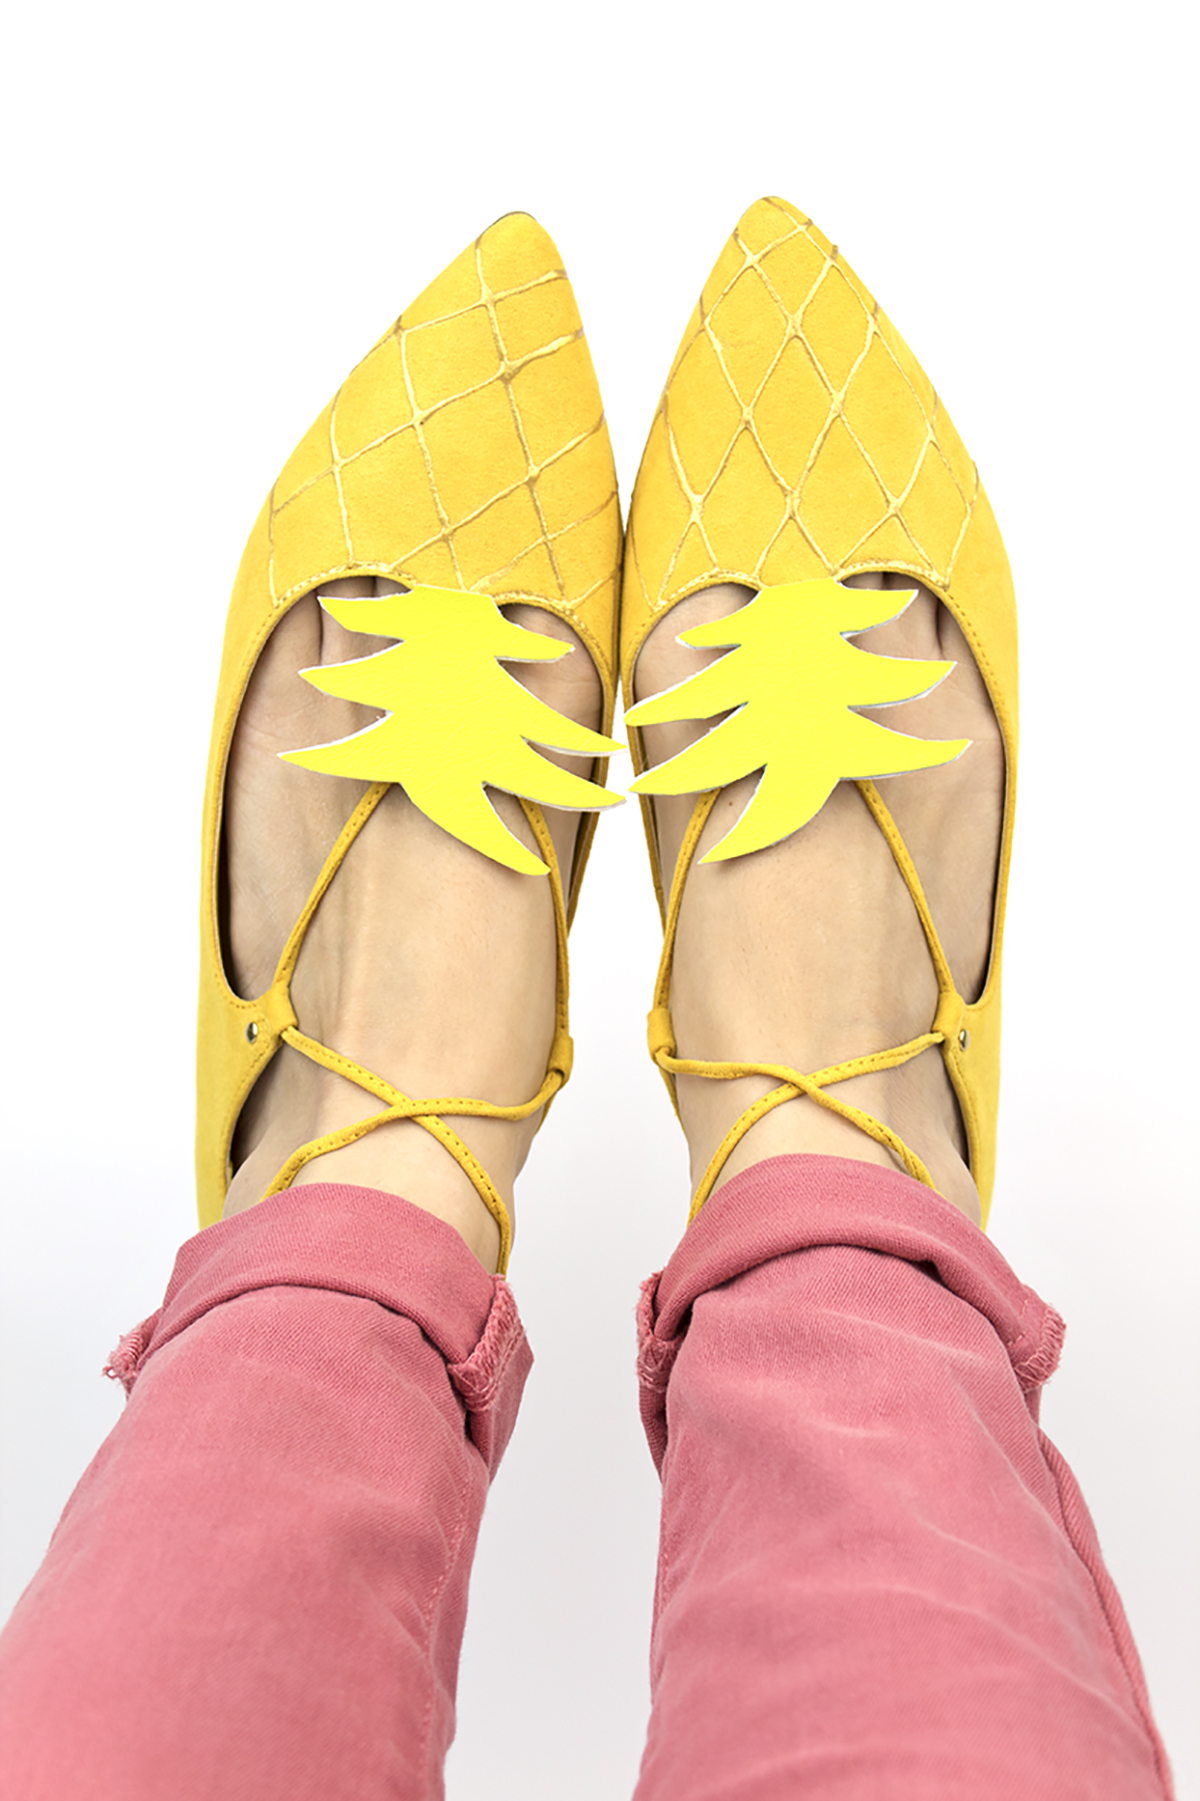
Happy Summer, everyone! I'm not sure what the weather has been like where you live, but here in NYC we've had muggy, spring-like weather for most of May and June. It's finally starting to get warm and sunny and summer-like! While warm weather and beach days are clearly the best part about summer (especially after a long NYC winter!) my other FAVORITE part is getting to switch up my wardrobe! I love adding in some of my summer staples, and kicking off my winter boots/rain boots and popping on some summer shoes, like flats and sandals. When it comes to summer shoes, I think the quirkier, the better. That's why I am head over heels in love with these pineapple shoes I made! They're the cutest and possibly most fun shoes I own (and I currently own a pair of sneakers covered in Barbie shoes!) I seriously cannot wait to wear them out and about. They're actually really easy to DIY yourself with a few craft supplies!

When it comes to summer shoes, I think the quirkier, the better. That's why I am head over heels in love with these pineapple shoes! Click for the DIY. #pineapple #pineapplediy #summercrafts

You will need:

Yellow Fabric Shoes (here or similar here)
Green Vinyl Fabric (I got mine from Joann Fabric)
Tailor's Chalk (here)
Gold 3D Fabric Paint (here)
Stiff Adhesive Felt (here)
Glue Gun
Scissors
Ruler

How to:

When it comes to summer shoes, I think the quirkier, the better. That's why I am head over heels in love with these pineapple shoes! Click for the DIY.

1. Using your tailor's chalk and ruler, create a grid pattern on your shoes. I used the top center of my shoe as the main point. 

When it comes to summer shoes, I think the quirkier, the better. That's why I am head over heels in love with these pineapple shoes! Click for the DIY.

2. Using your 3-d fabric paint, go over your chalk lines. I went section by section, since the paint would create gaps if the line was too long. Also, be careful of it spitting out a big glob of paint. If that happens, gently guide the paint away with the clean tip of the nozzle. Wipe the nozzle clean, and keep going.

3. Once your paint has dried for at least 24 hours, it's time to add the top! Draw a few pineapple tops on white paper and pick your favorite one. If you're not a good artist, find one online and print it out. 

4. Cut your pineapple top out and trace it onto your green vinyl (the back side). I wanted mine to mirror each other since they weren't exactly the same, so I flipped the paper stencil and traced it the other way. 

5. Cut out the pineapples from your vinyl, being as careful as you can. 

6. Cut out a small piece of felt.  Peel the adhesive lining off, put your pineapple top on it, and cut out. 

7. Using a glue gun, glue your pineapple topper to the shoe. Wear and enjoy! 

When it comes to summer shoes, I think the quirkier, the better. That's why I am head over heels in love with these pineapple shoes! Click for the DIY. #pineapple #pineapplediy #summercrafts

Oh, and if you're wearing a brand-spankin new pair of summer shoes, be sure to bring a backup pair in this handy Barbie Shoes Tote Bag

Ahh! Are you LOVING these shoes as much as I am?! What fruit would you want to wear on your feet? I'm thinking strawberry shoes could be another fun one!